
HDRI Lighting
HDRI lighting standing for ‘high dynamic range imaging’ and is a technique used in digital imaging. The technique involves reproducing a greater dynamic range of luminosity that what normal digital imaging produces to create a quality lit scene. HDRI is a much higher dynamic range of colour and values than traditional bitmap formats. HDRI is modelled after trichromatic base of the human eye and store actual luminance values in each pixel (NING, 2017). As well as colour being obtained, strength and brightness of the light is valued and inputted.
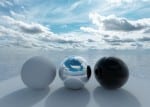
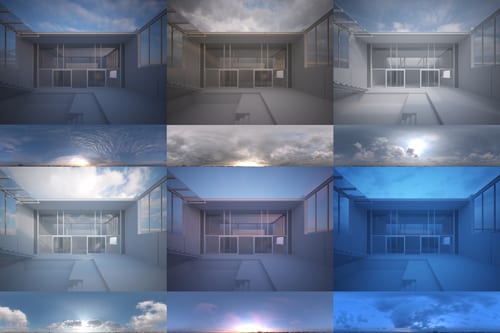
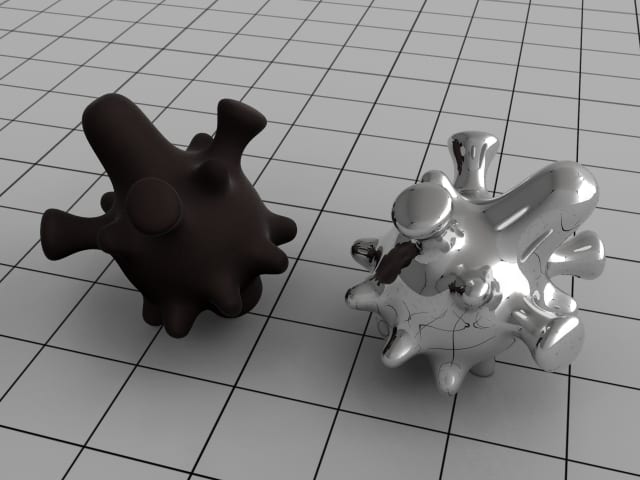
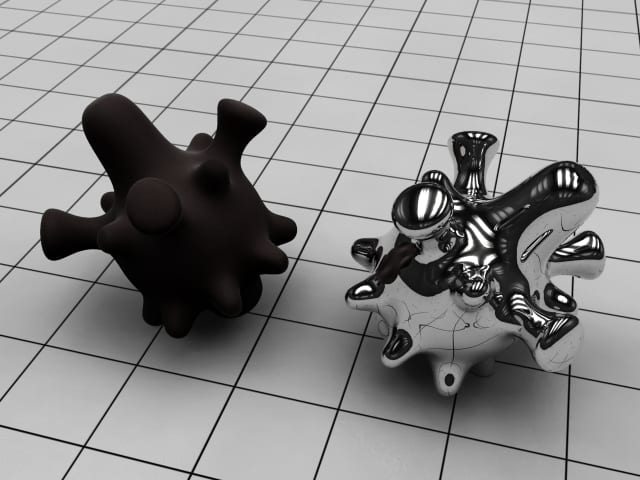
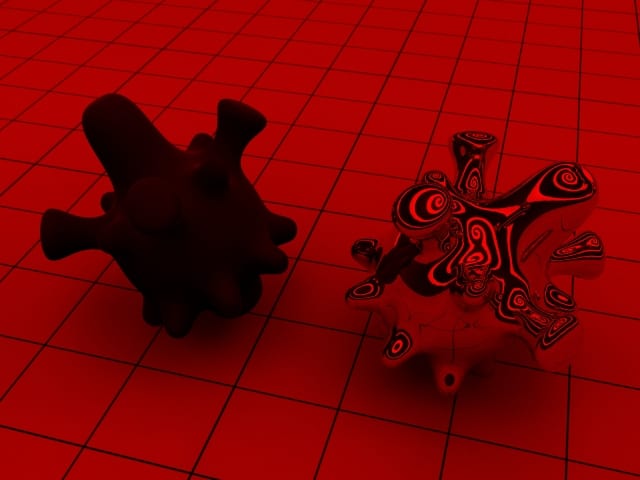
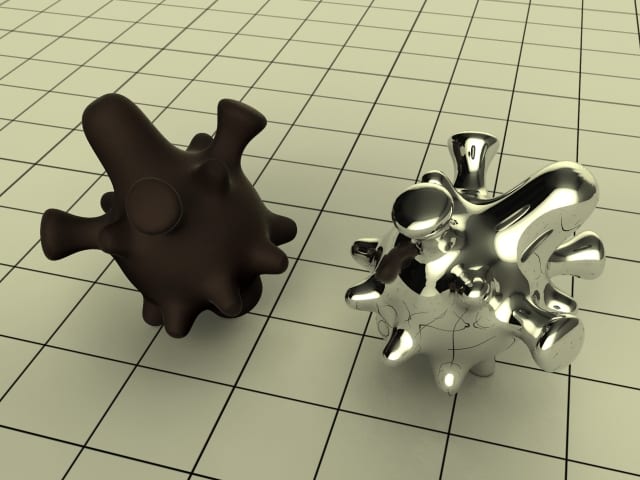
Examples of HDRI lighting:


In order for my scene to look professional and as realistic as possible, I will have to use HDRI lighting. This will give my work a professional look and will aid the advertisements and promotional video that will be an outcome of the modelled and lit scene.
Following a Jay Westson YouTube tutorial, he recommends using the ‘cycles’ render in Blender for optimum results. From then, he deletes the lamp and adds a plane to the bottom of his product in order for the HDRI lighting to be effective, and so that the audience can see.
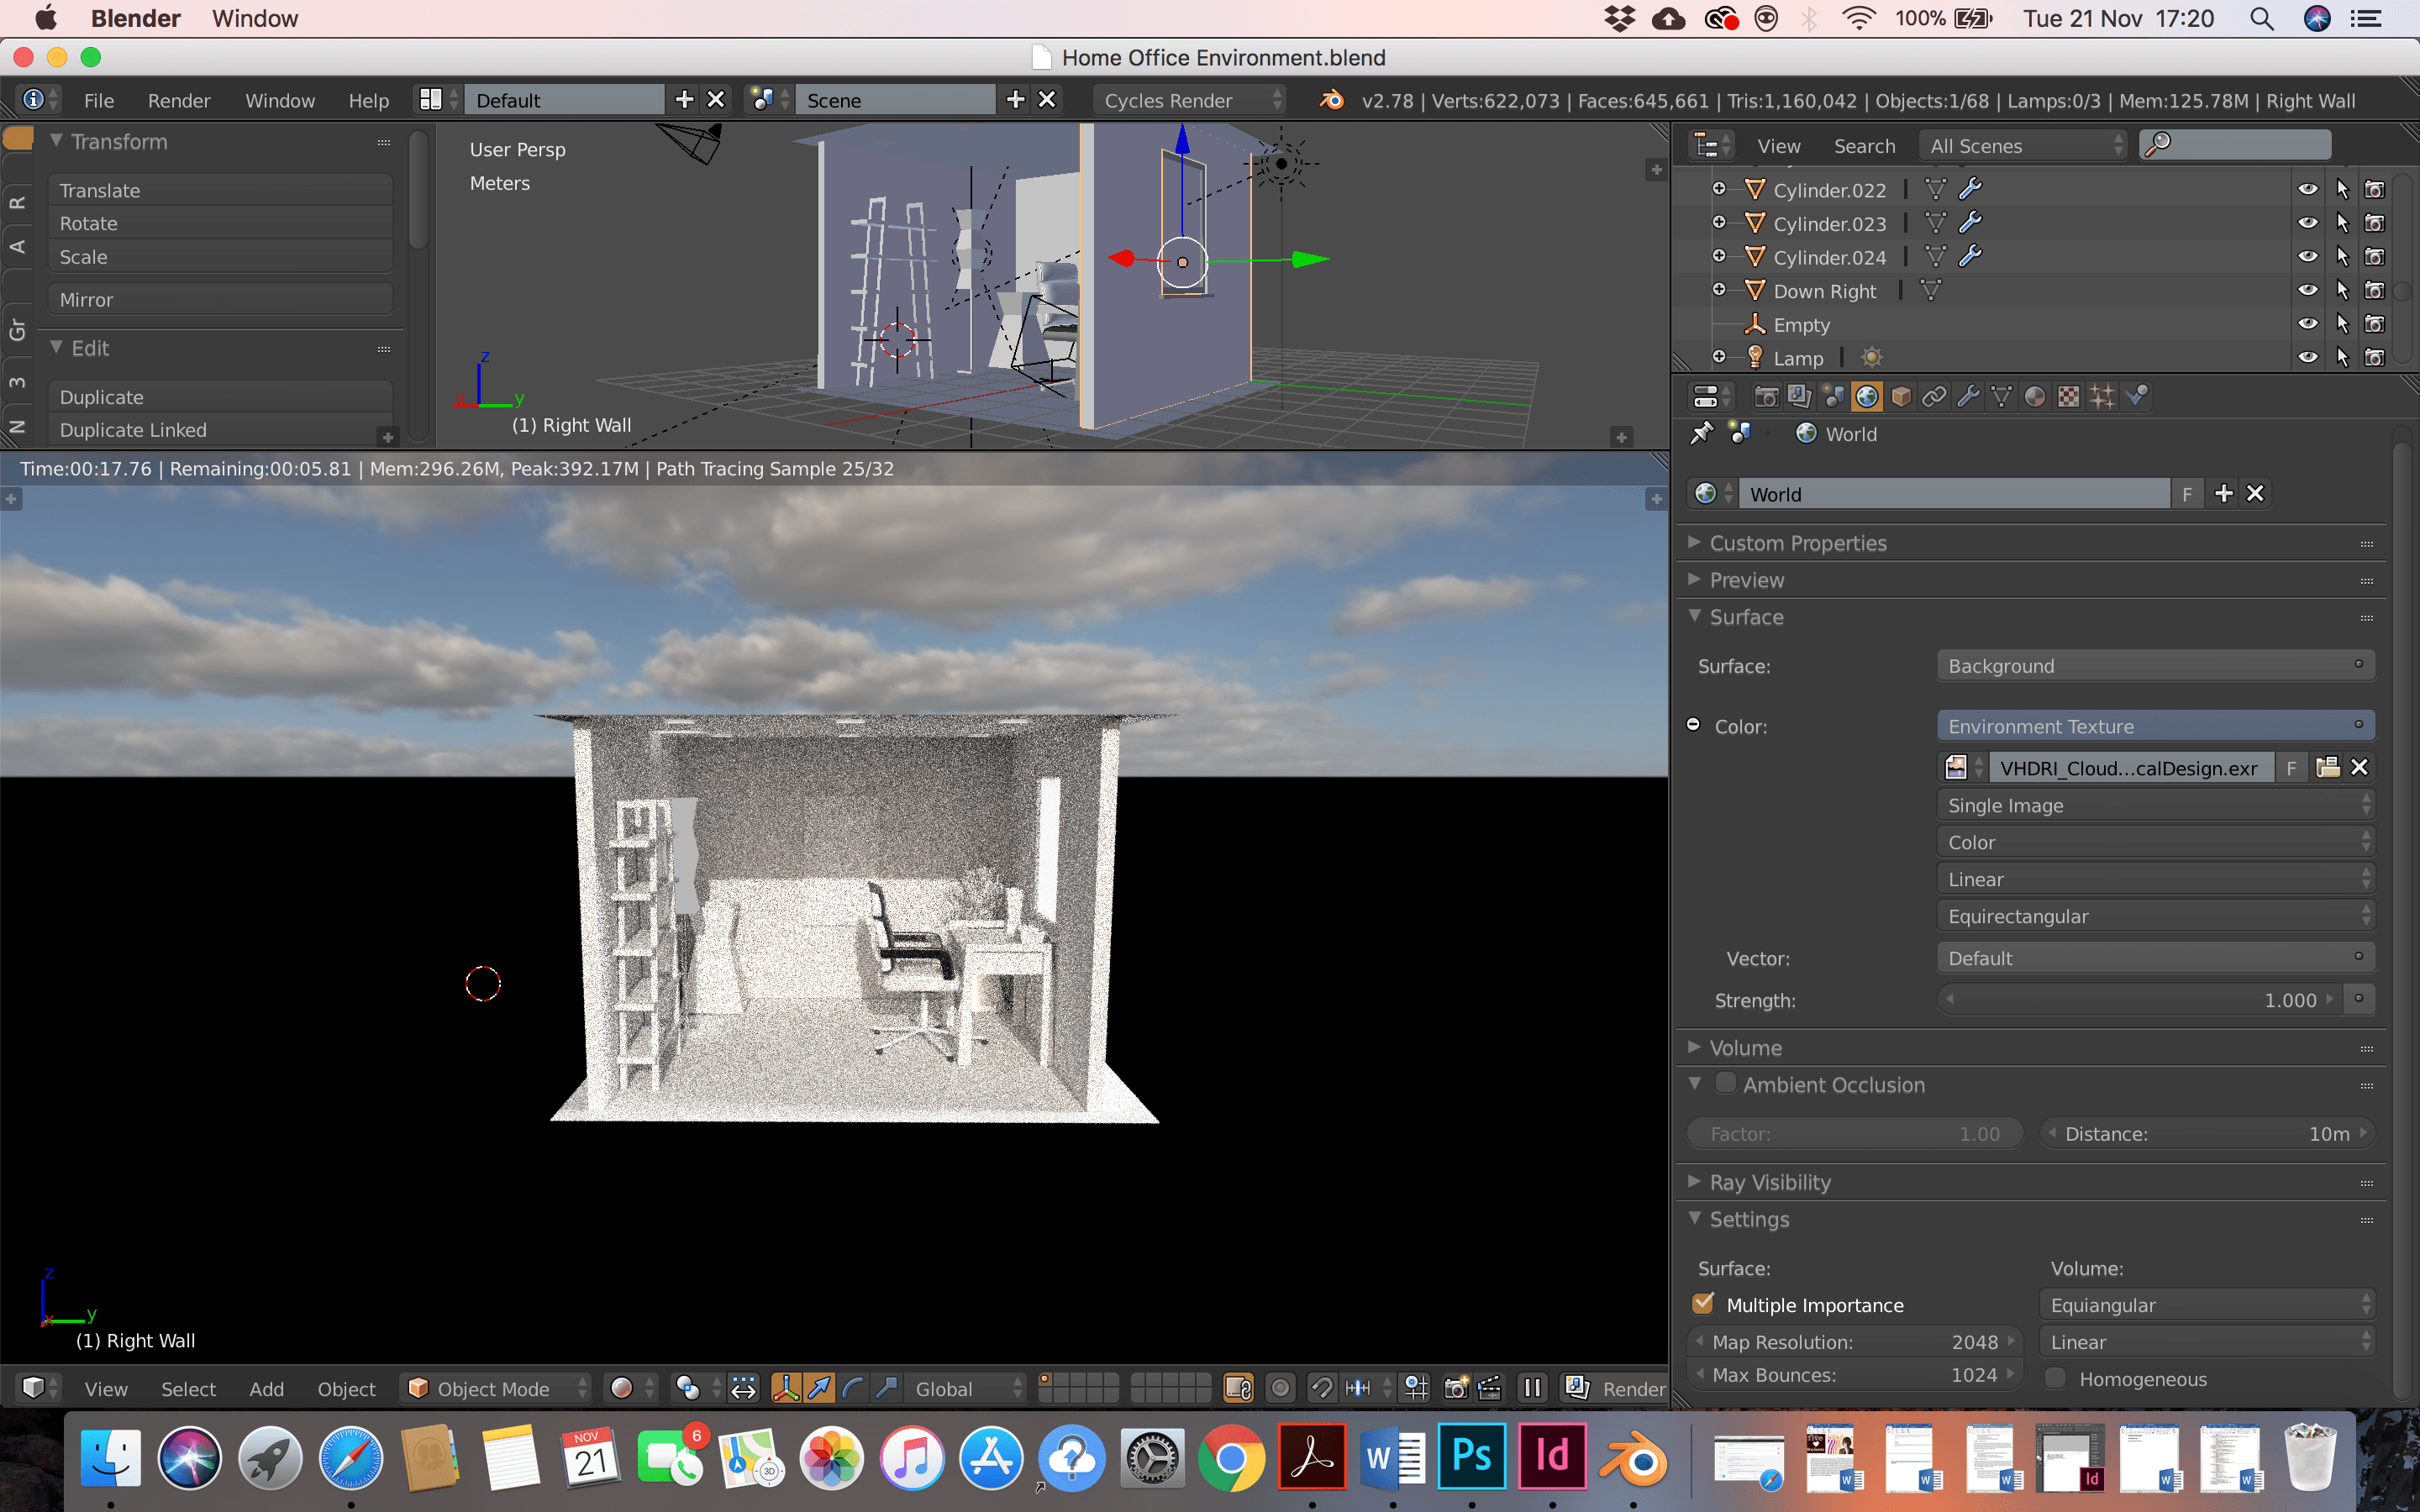
The next step is to go onto the ‘world’ section in the right-hand-side toolbox, and chance the colour to environment texture. Then add in the HDRI setting and look at the rendered view of you product and the lighting should be applied.
In blender cycles render, Westson states that you get ‘fireflies’, which are speckles to the lighting. However, one method to enhance the look of the product with the HDRI lighting is to go back to the ‘world’ section of the toolbar and enable ‘multiple importance sample’ and turn it up to ‘2048’. This enhances the lighting to create a more apparent and aesthetic look.
Below is the YouTube tutorial video I watched to gain this information:
After following the tutorial, below is a screenshot of my rendered scene using HDRI lighting:
Here is another tutorial whereby Mark delivers a HDRI lighted sphere:
https://www.youtube.com/watch?v=7Of_VzWj7SE
From this tutorial, I was able to find more information about downloading some HDRI images that would aid me in my scene.


The next aspect of my work I need to research is render engines. There are several render engines on the market which all have different qualities and outcomes once a modelled product or scene is finished.
An article from Blender Guru analyses and tests 6 engines as well as the blender cycles which I am currently using. The other 5 render engines are: LuxRender, Maxwell, Mitsuba, Octane & V-Ray.
On the first test (a car scene), cycles took the second longest time to render, however, produced few fireflies. LuxRender rendered in a faster time, however the quality of the image was more poor. Mitsuba, Octane and V-Ray were the quickest and noise-free in this test.
The next test was an interior scene. This scene will be the most relatable for my project. Interior scenes are quite problamatic to render as the main part of the lighting comes from indirect light. The quickest render engine for this scene was the LuxRender at 12:44 minutes, against the worse (Maxwell) at 24:27 minutes. Cycles again had few fireflies and looks aesthetically pleasing, however was slow. The recommended engine for this type of scene was V-Ray. However, V-Ray comes at a cost of $350, which is out of my budget so I will be looking into the free build in and add-on’s of: Cycles, LuxRender & Mitsuba.
Pros & Cons of the three render engines I could possibly use within my budget (Cycles, LuxRender, Mitsuba):
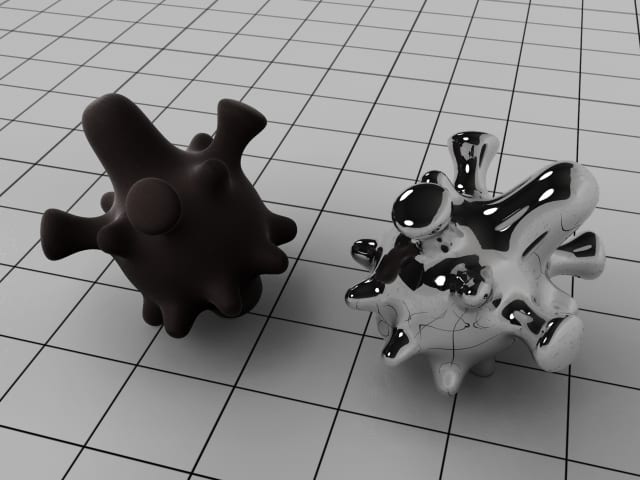
Pros of Cycles:
- Fairly simple to learn
- Good use of material nodes and viewpoint
- Good documentation
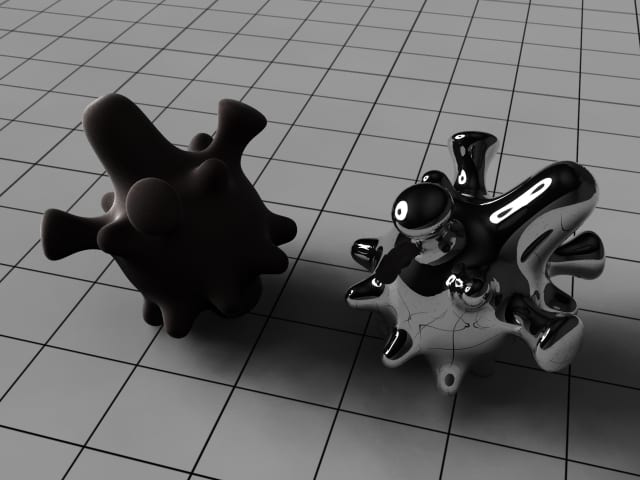
Cons of Cycles:
- One of the youngest engines, not completely optimised
- Only 2 rendering algorithms, neither suitable for caustics

(Image by Steve Lund)
Pros of LuxRender:
- CPU and GPU rendering
- Many rendering algorithms and samplers to choose from
- Lost of post-production filters like lens effects and noise reduction
- Great documentation with many examples
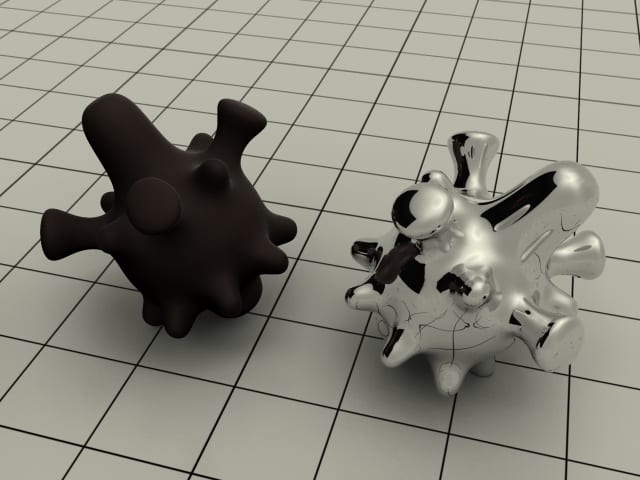
Cons of LuxRender:
- New version doesn’t support all features, for example, hair
- Complicated and hard to learn

(Image by Simon Wendsche)
Pros of Mitsuba:
- Many rendering algorithms and samplers
- Excellent documentation
- Open-source and popular among researchers
Cons of Mitsuba:
- Generally not suited to serious 3D production
- Ver complex and hard to learn
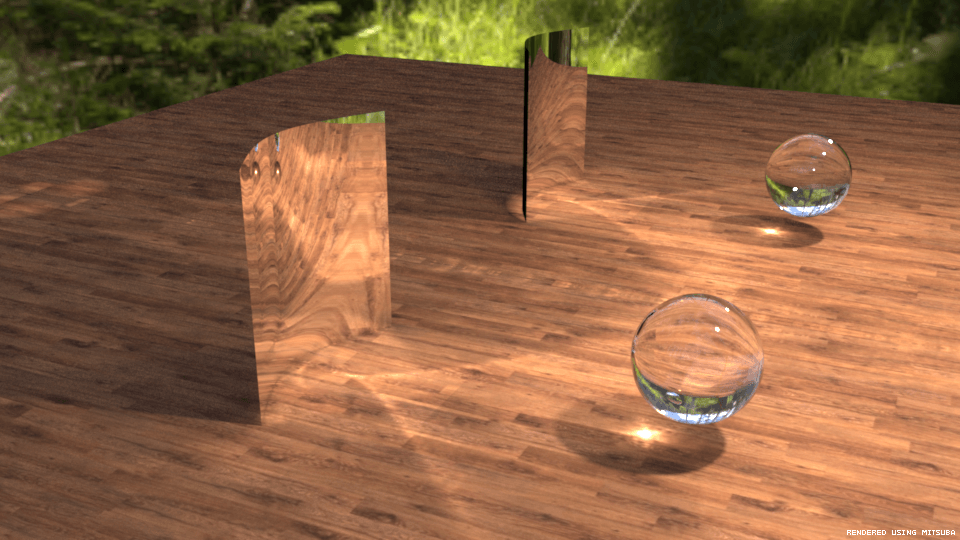
(Image by Zeealpal and Bashi)
To conclude, I will look into using the Cycles render engine that is already build into Blender. This is because the interface is interactive and fairly simple to use, unlike LuxRender and Mitsuba, which is a game changer as I am new to the software and rendering process. Furthermore, it is specifically for 3D production, therefore there are no missing features. Moreover, I will not be using Maxwell, Octane and V-Ray due to their high prices, even though their outcome was of good quality and time-efficient. However, moving forwards, if I had a greater budget in industry, I would look into these render engines in more depth.
Bibliography:
Blender Guru (2015) Render Engine Comparison: Cycles vs The Rest. Blender Guru. Available from https://www.blenderguru.com/articles/render-engine-comparison-cycles-vs-giants [accessed 21 November 2017].
NING (2017) What is HDRI? Flamingo nXt. Available from http://nxt.flamingo3d.com/page/what-is-hdri [accessed 21 November 2017].
Hyperfocal Design (2017) Blender HDRI Tutorial: Cycles. Hyperfocal Design. Available from http://www.hyperfocaldesign.com/tutorials/blender-hdri-tutorial-cycles/ [accessed 21 November 2017].