UV mapping in Blender is the process of putting a 2D image texture onto a 3D model. ‘U’ and ‘V’ are the axes left as ‘X’, ‘Y’ and ‘Z’ are used in modelling. You can UV unwrap your model by making ‘cuts’ in the model as to where the product will be split open in order for the model to turn flat ready for the image, or, there is a smart UV unwrapping tool whereby blender generates the cuts for you and unwraps it without you doing any work.
In order to learn how to unwrap a model in Blender, I watched several YouTube tutorials. Below are some of the ones I found useful:
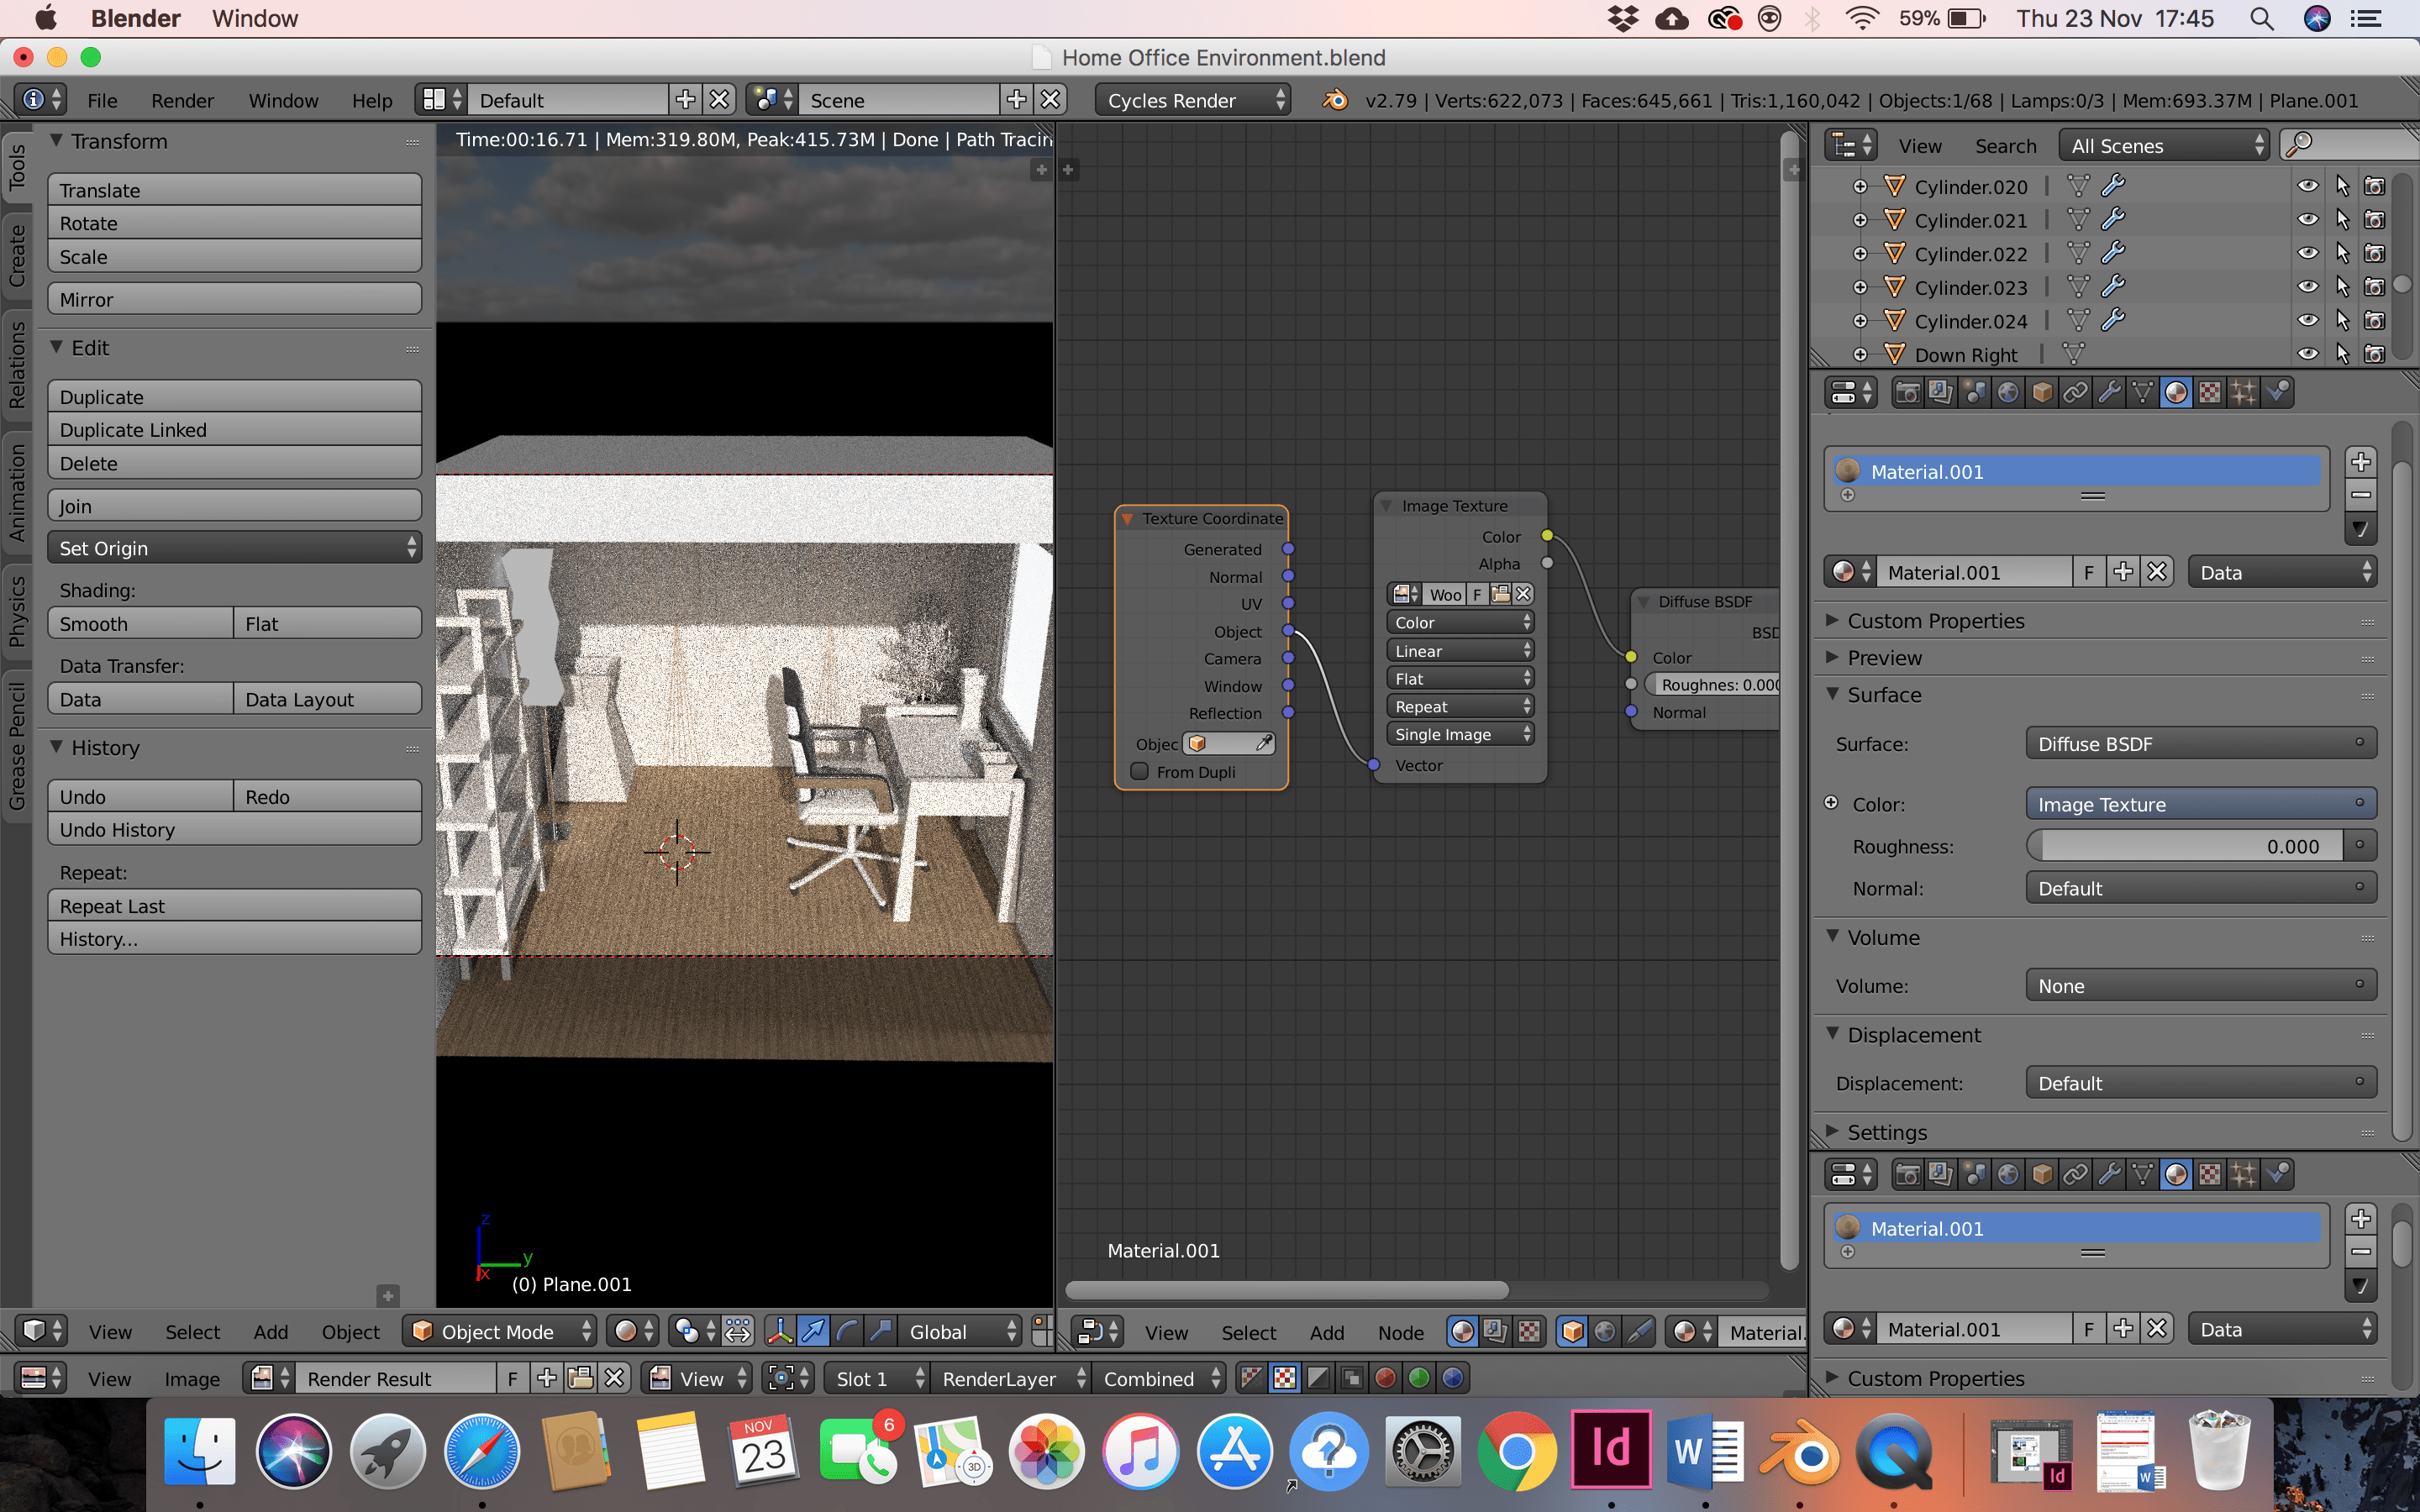
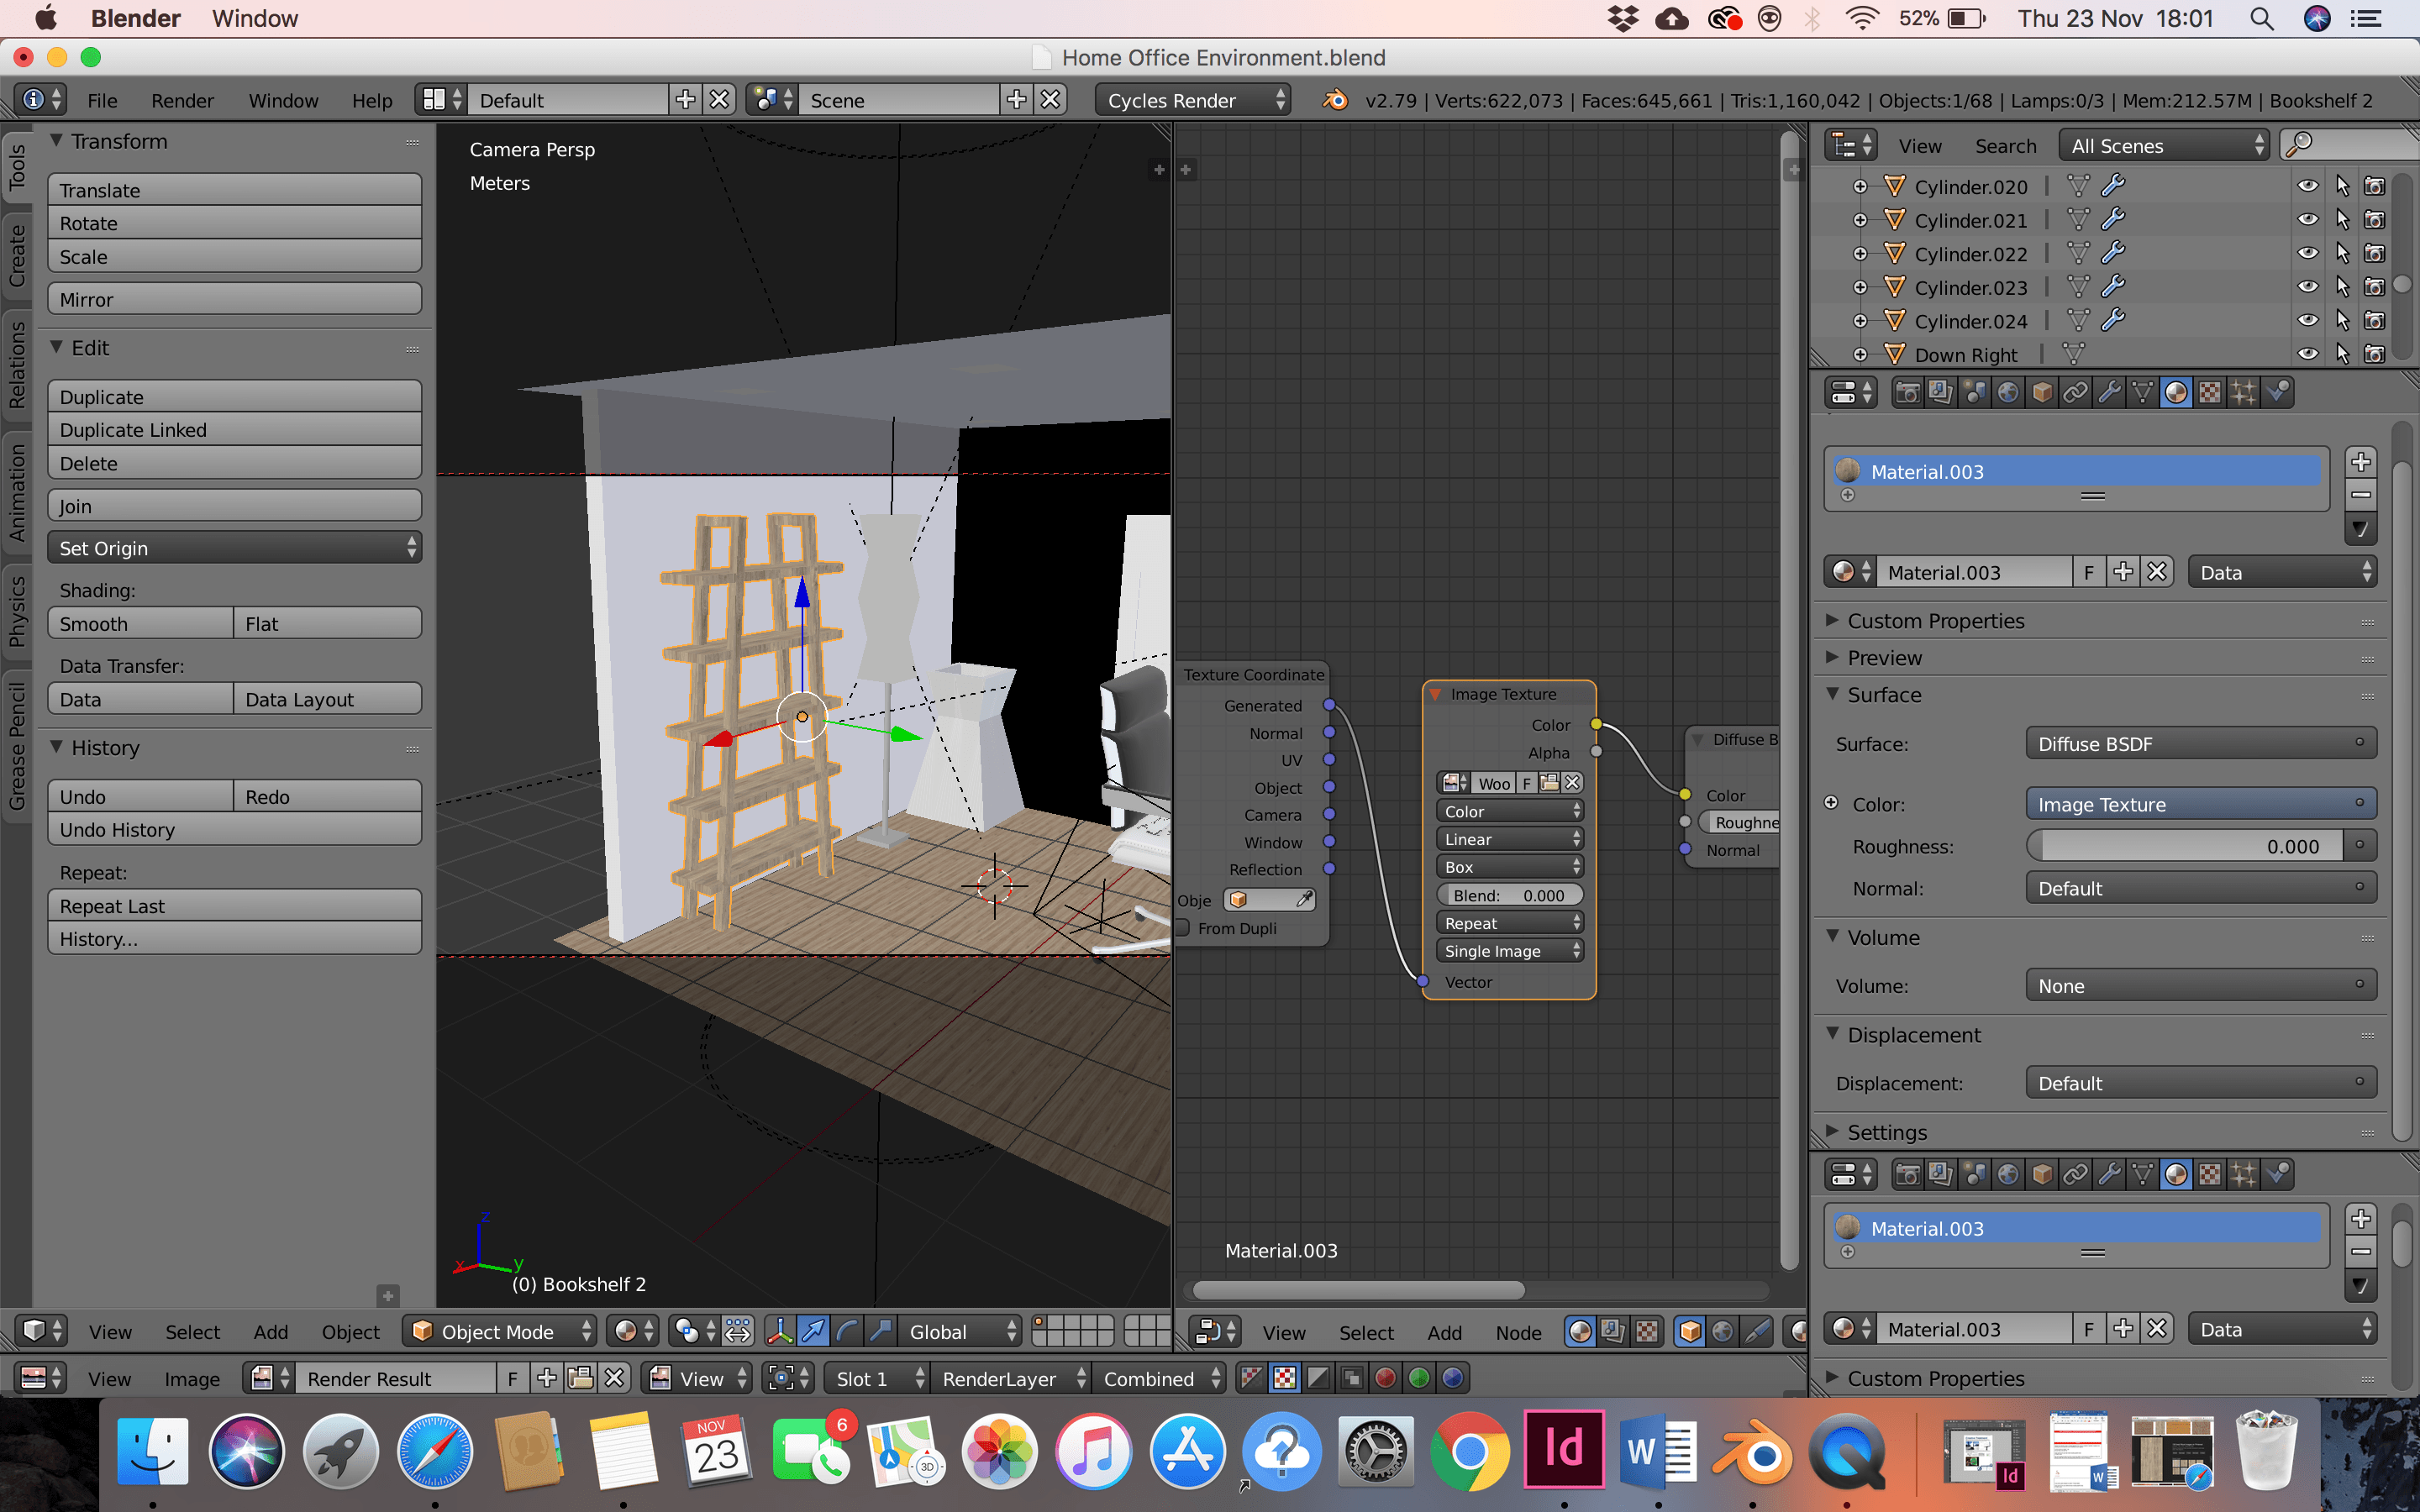
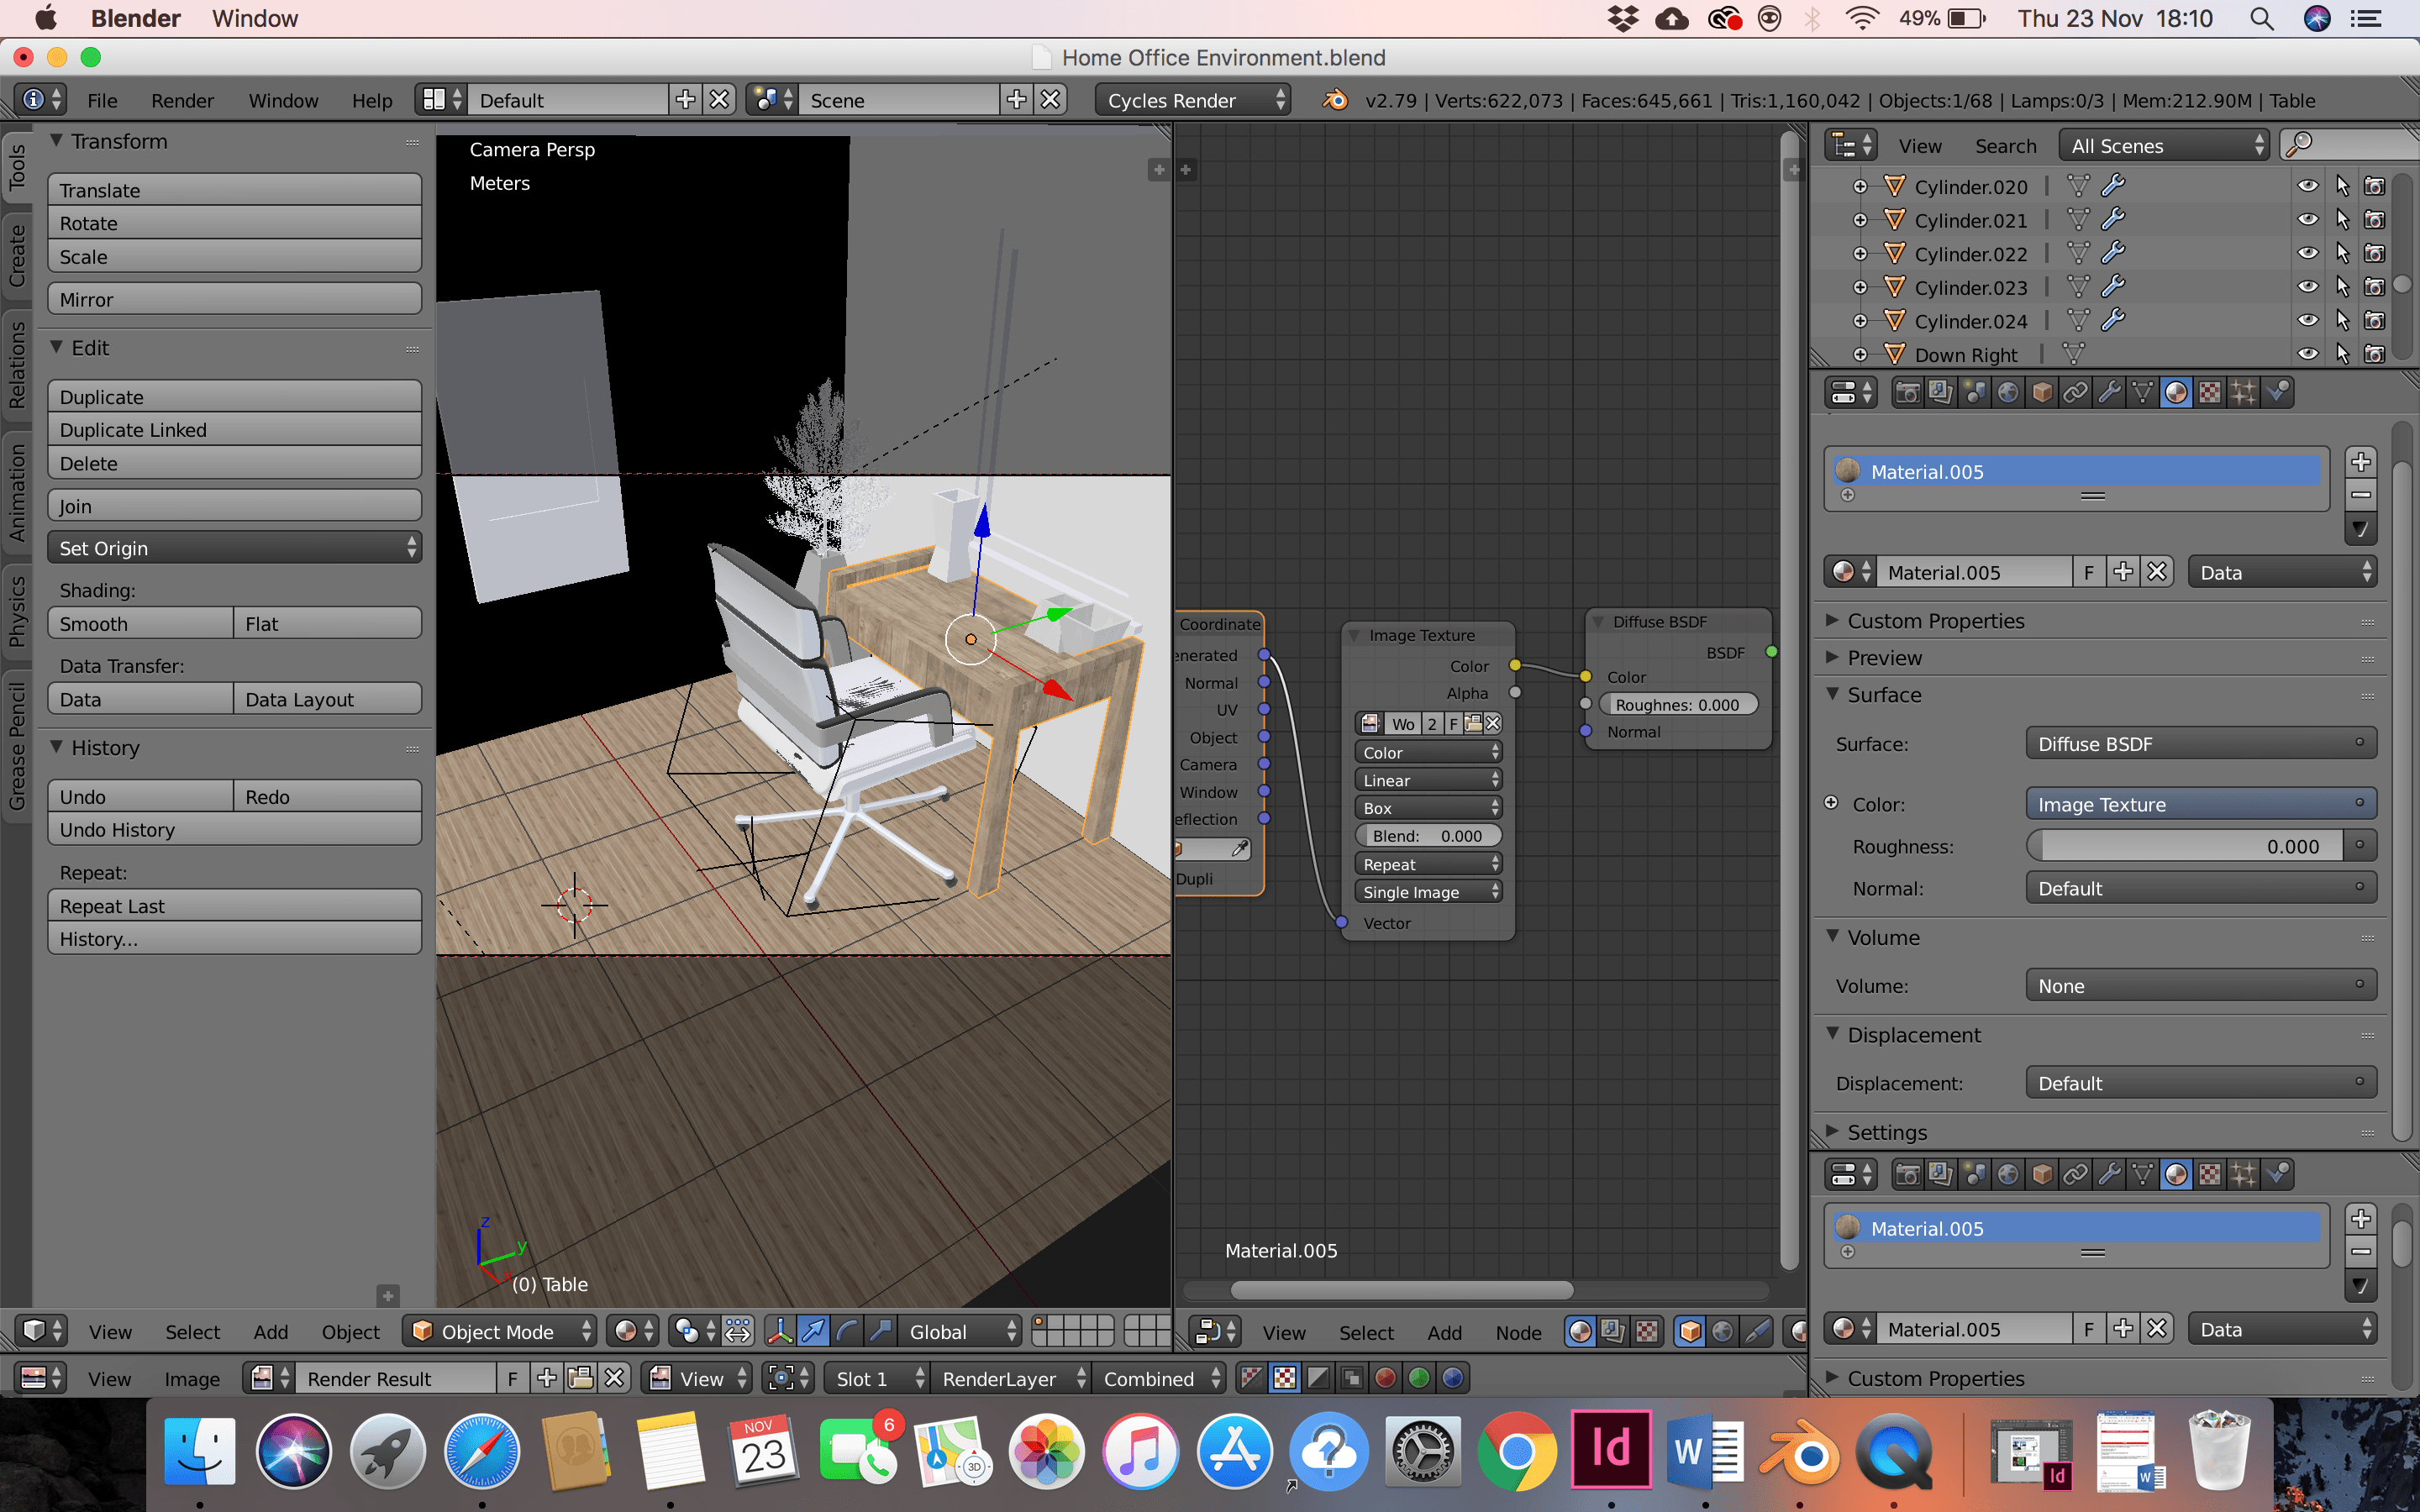
These videos were extremely useful to watch, however, after discussions with a tutor, I realised that I was able to wrap a texture round some of my products without going through the process of actually UV unwrapping them. Below is a video demonstrating that process:
Wrapping a Texture on a Model Without UV Unwrapping it.
The products that I could texture without unwrapping them include:
- Desk Storage Box
- Small Desk Standing Vase
- Large Floor Standing Vase
- Wallpaper
- Bookshelf
- Desk
- Plant pot
- Floor
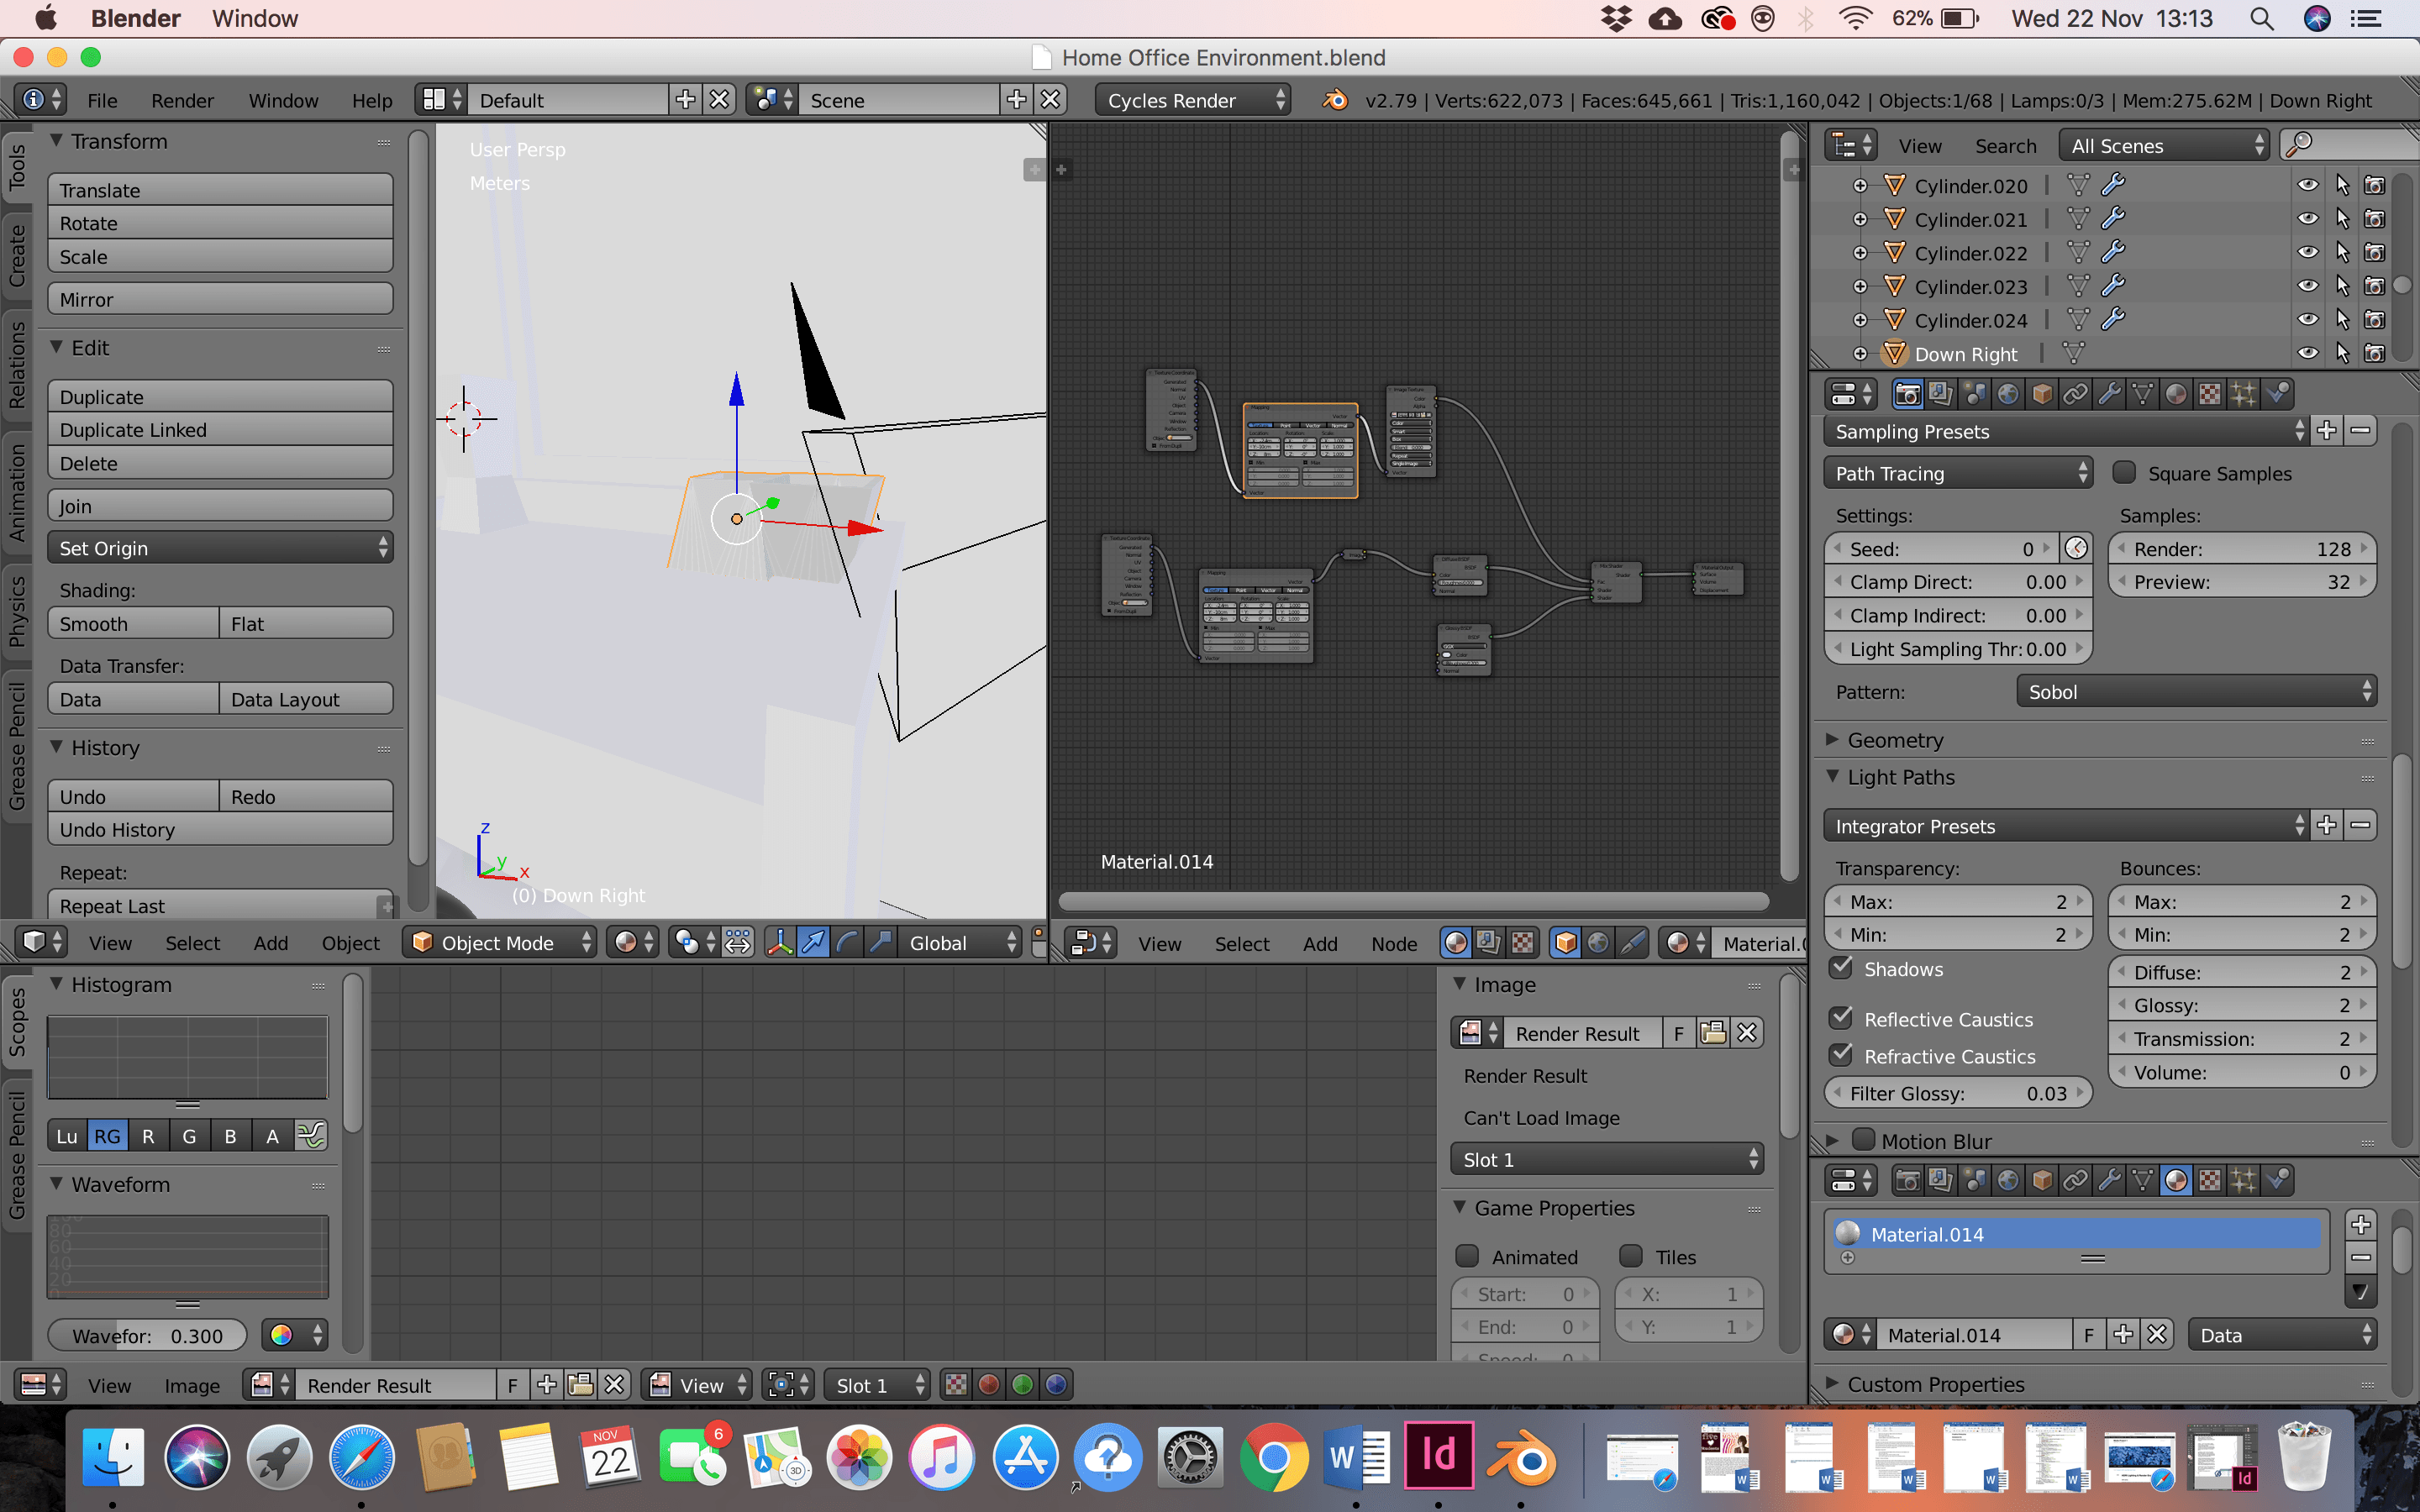
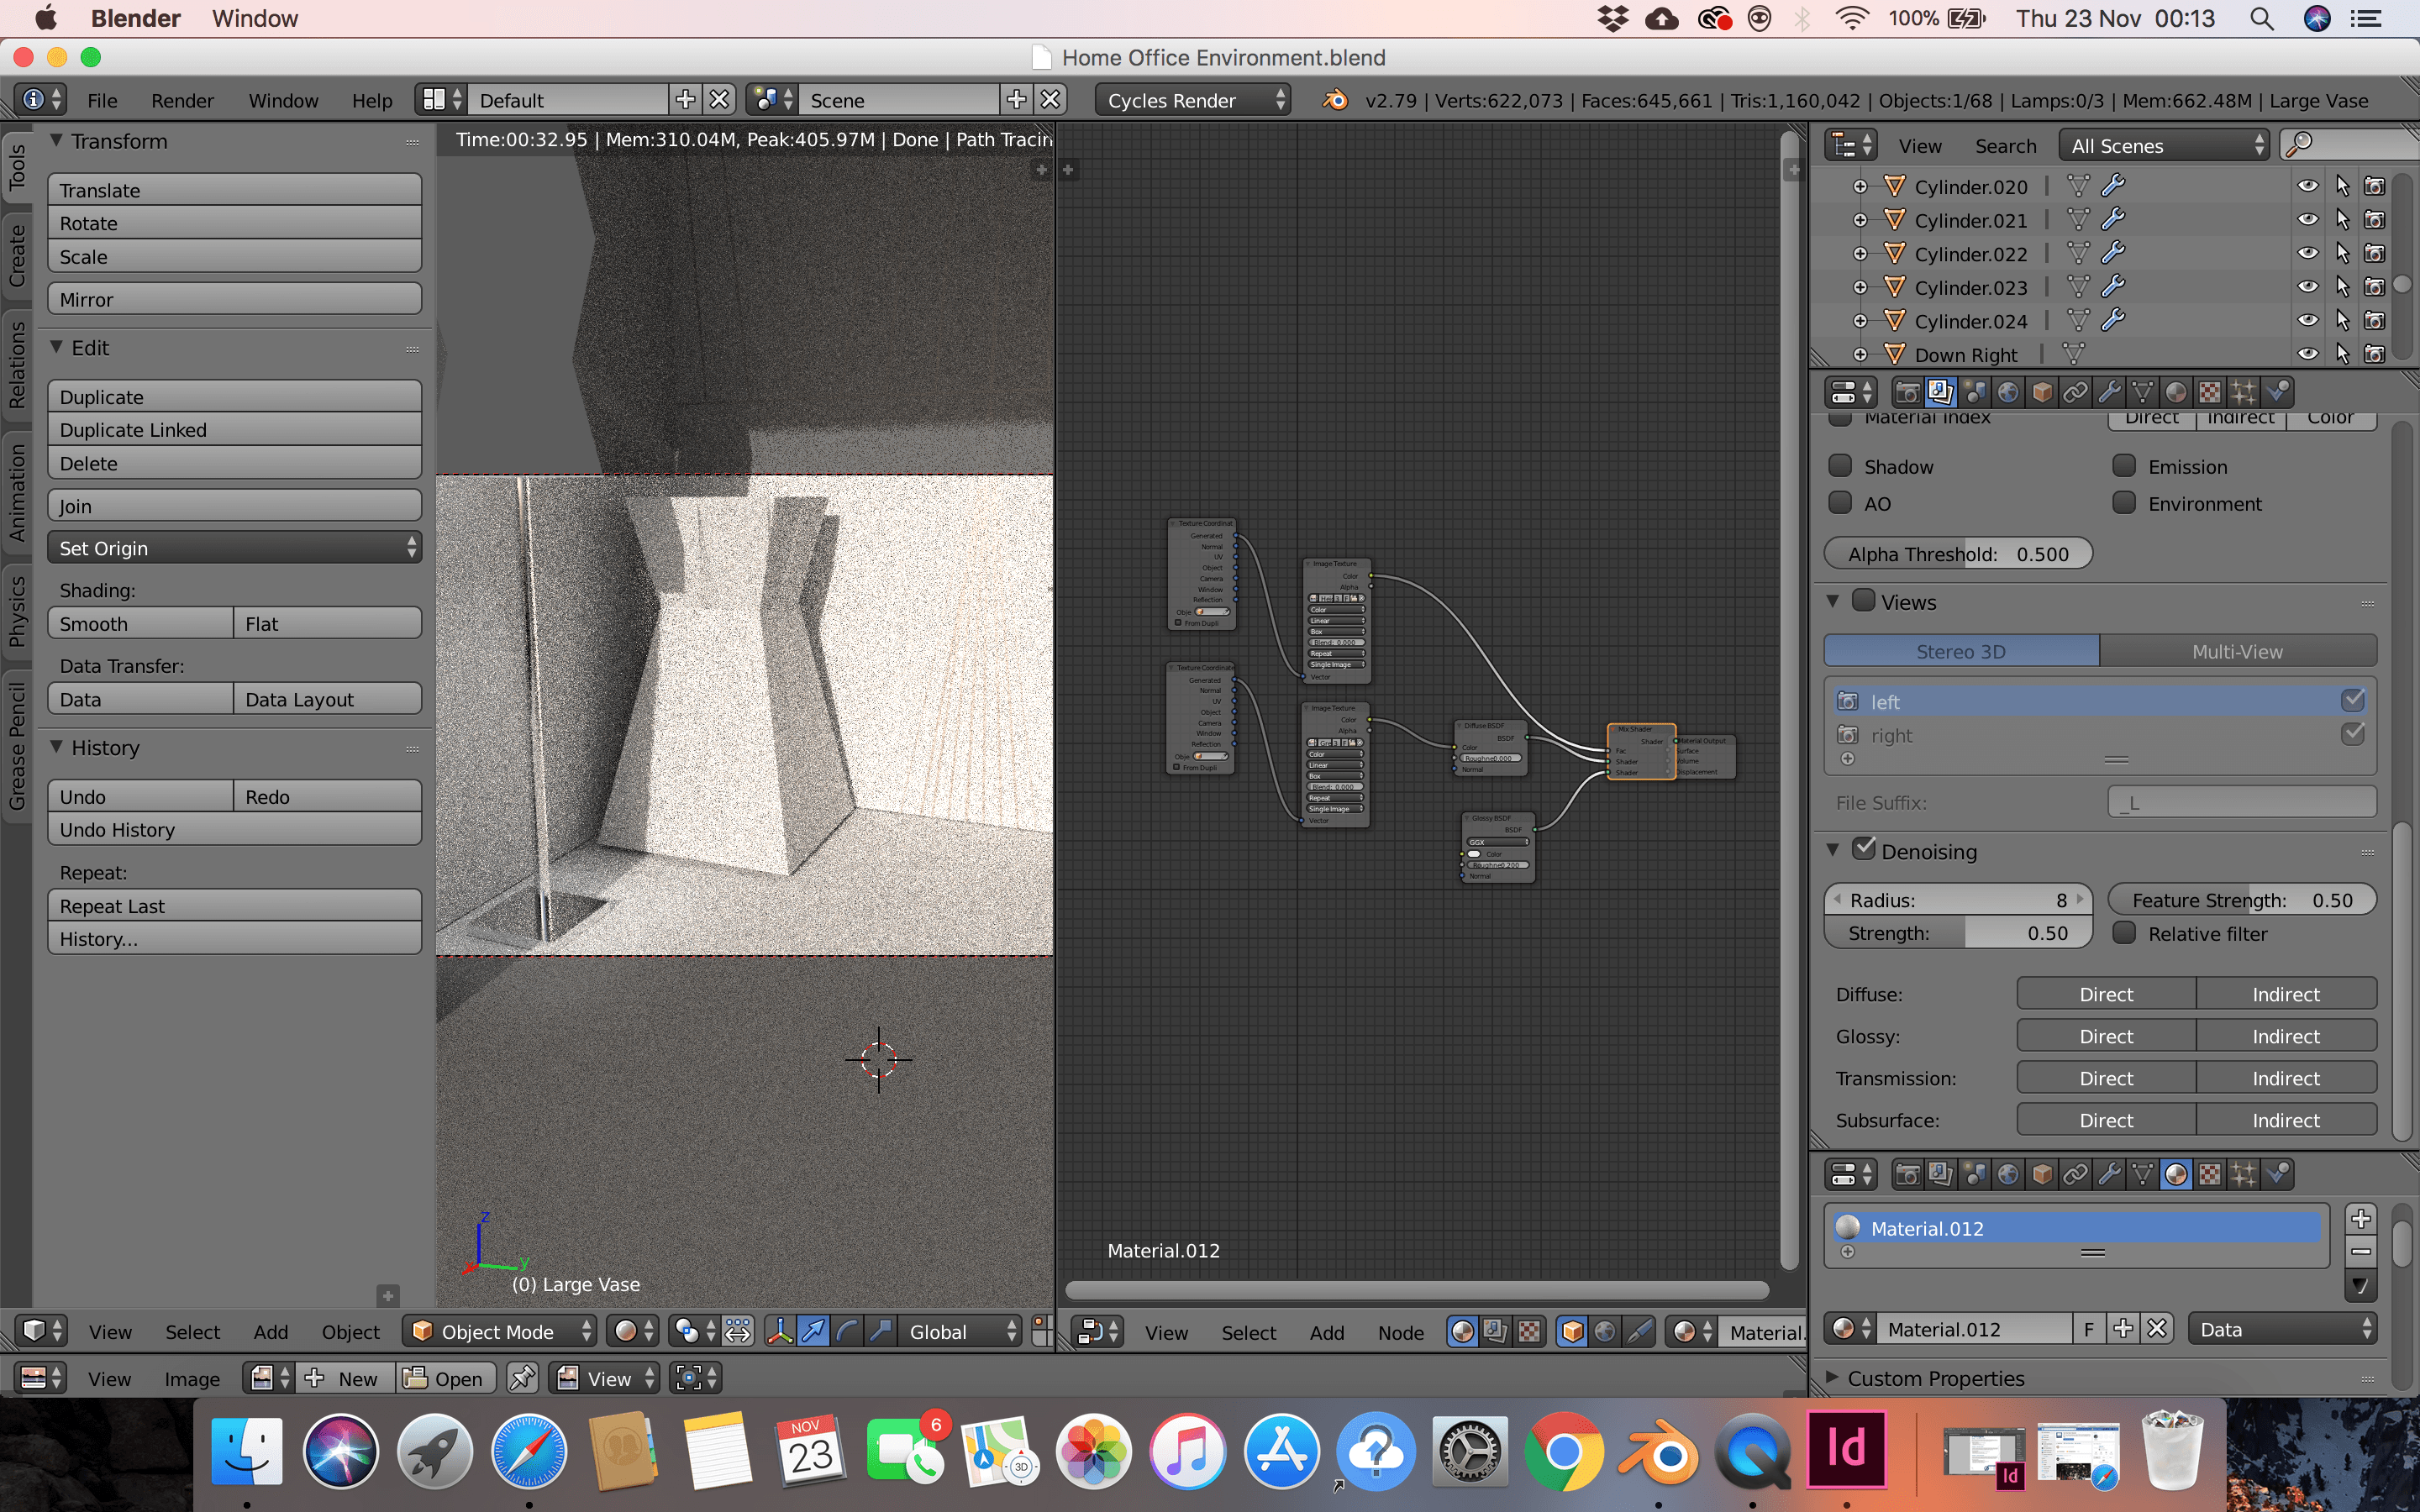
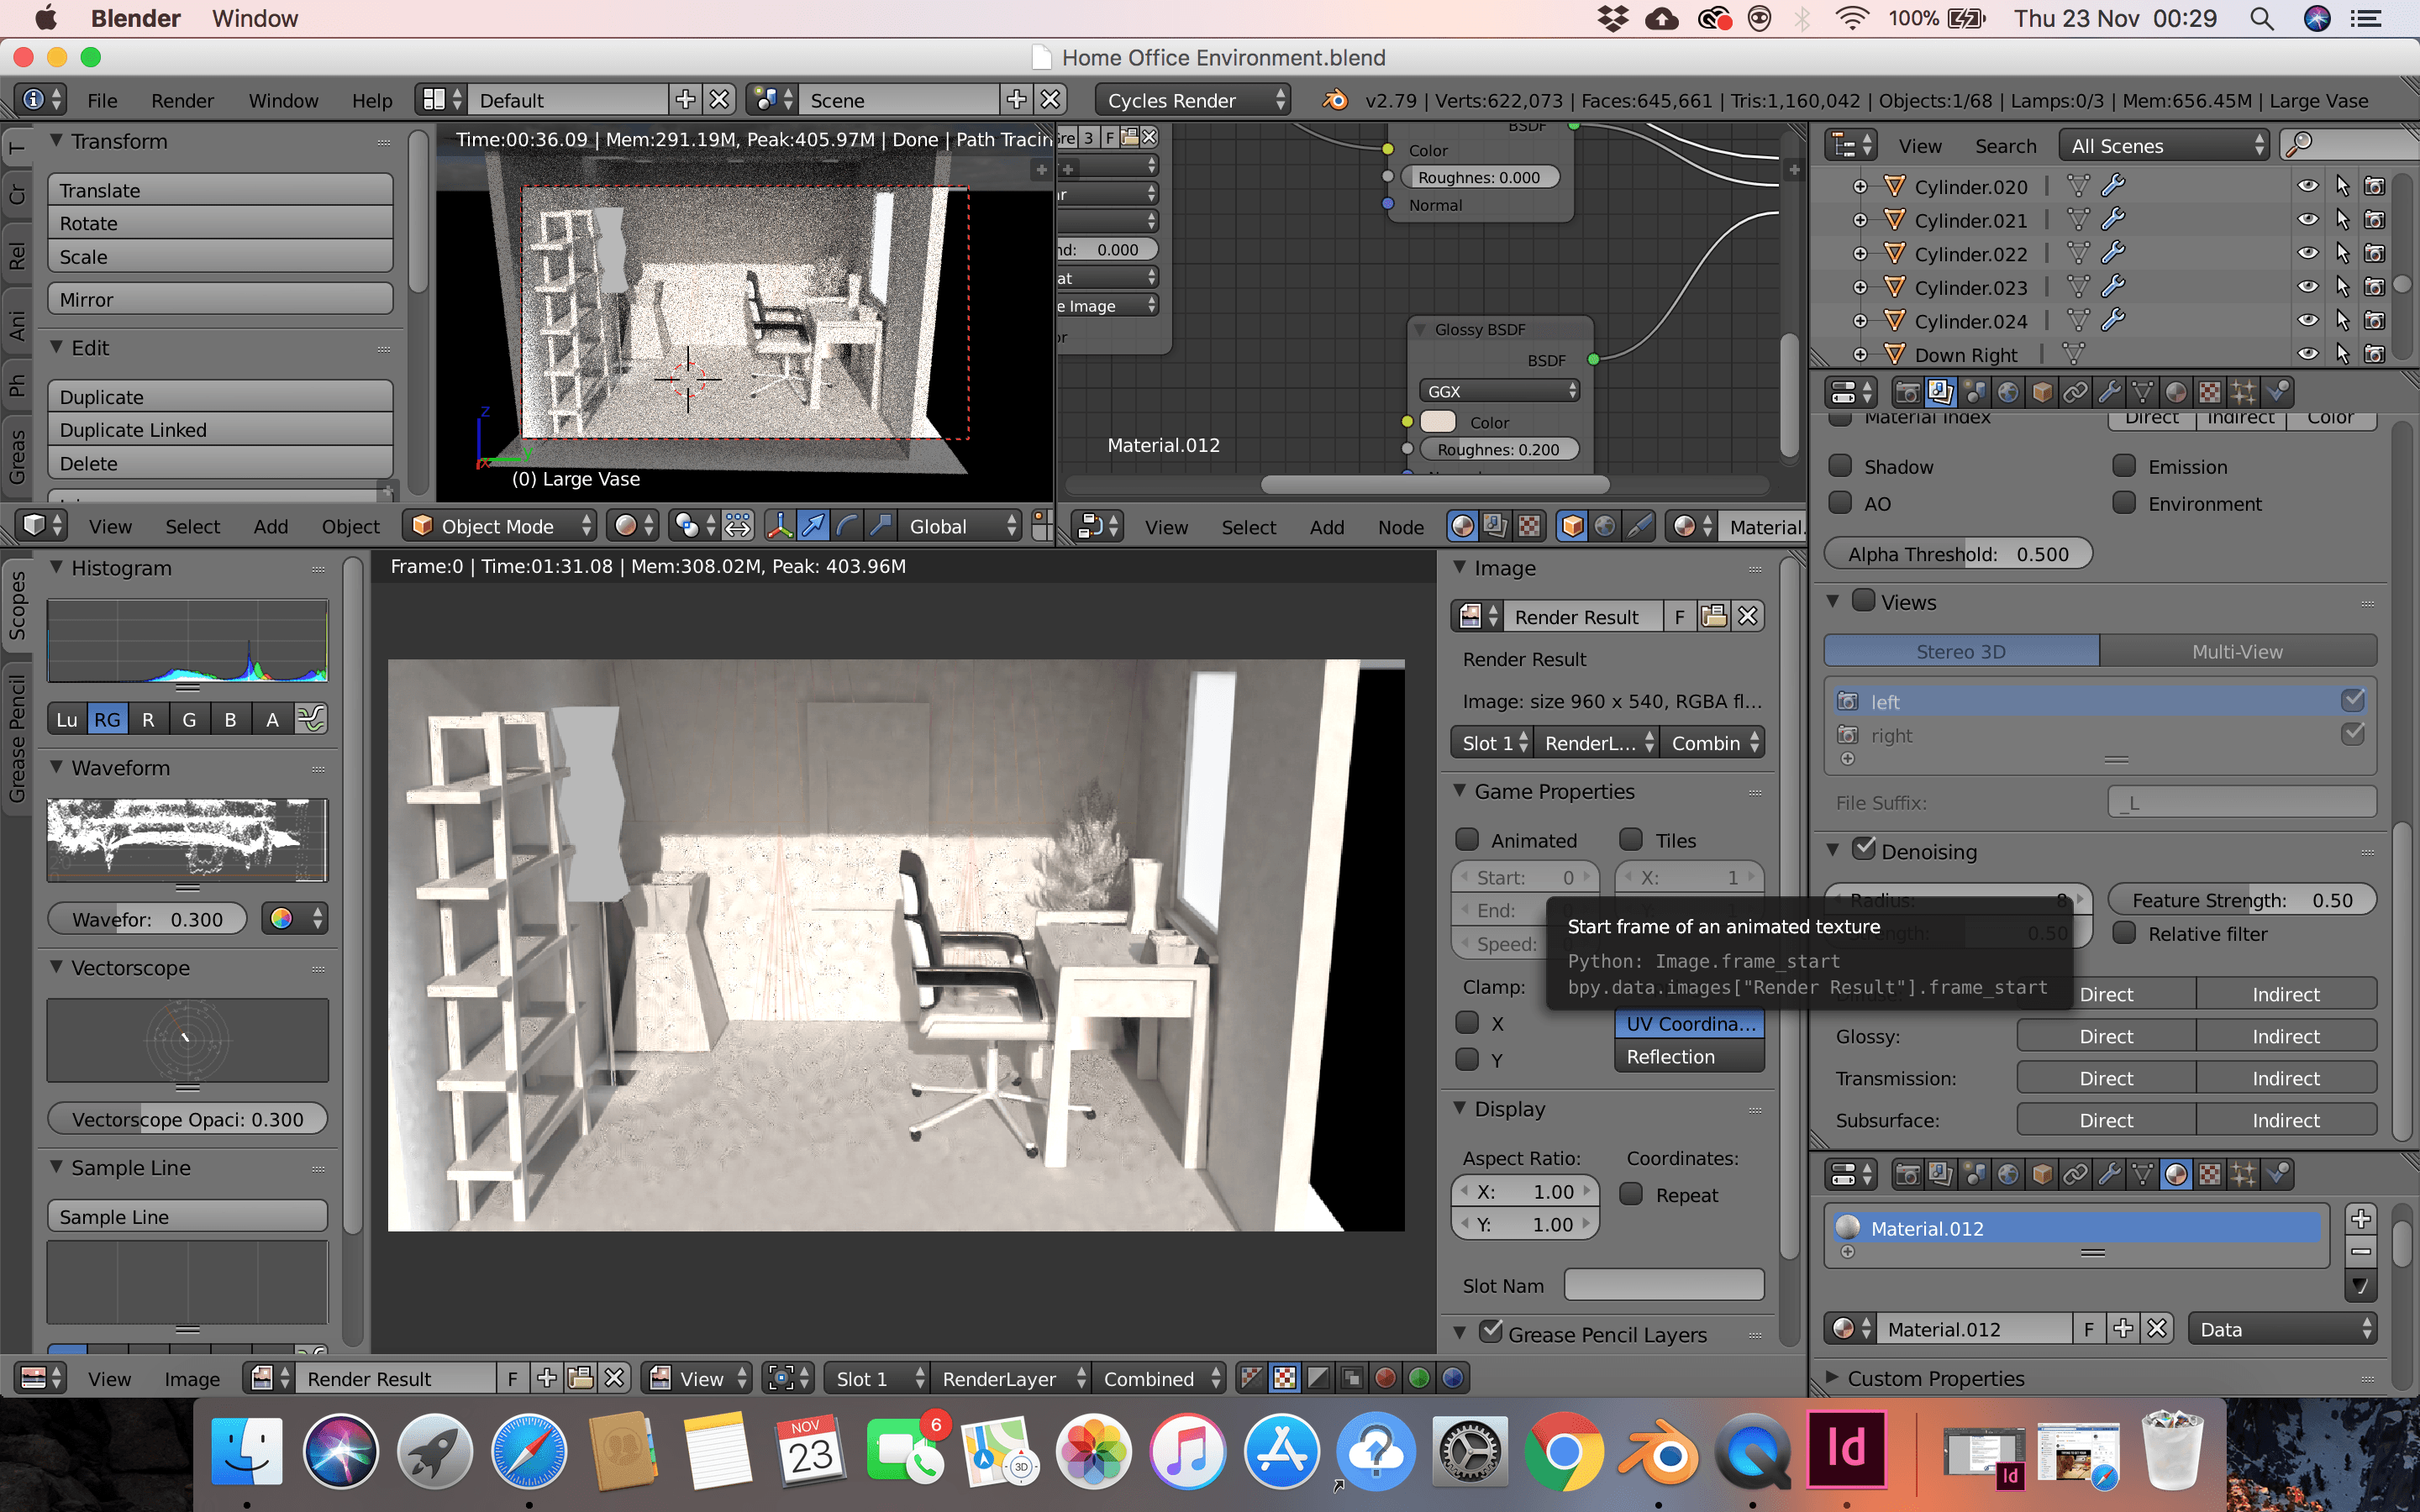
Below are some screenshots of the progress of adding textures to my products without UV unwrapping them:


However, in order to get the correct textures for the picture frame and plant, I will have to UV unwrap the products, then export to photoshop and learn how to paint and re-inport into Blender.
The best video I watched to help me understand how to export the UV unwrapped mesh into photoshop to paint, then back into blender to apply to the mesh was one by Darrin Line. See below for video:
Here is the progress to texturing the picture frame:
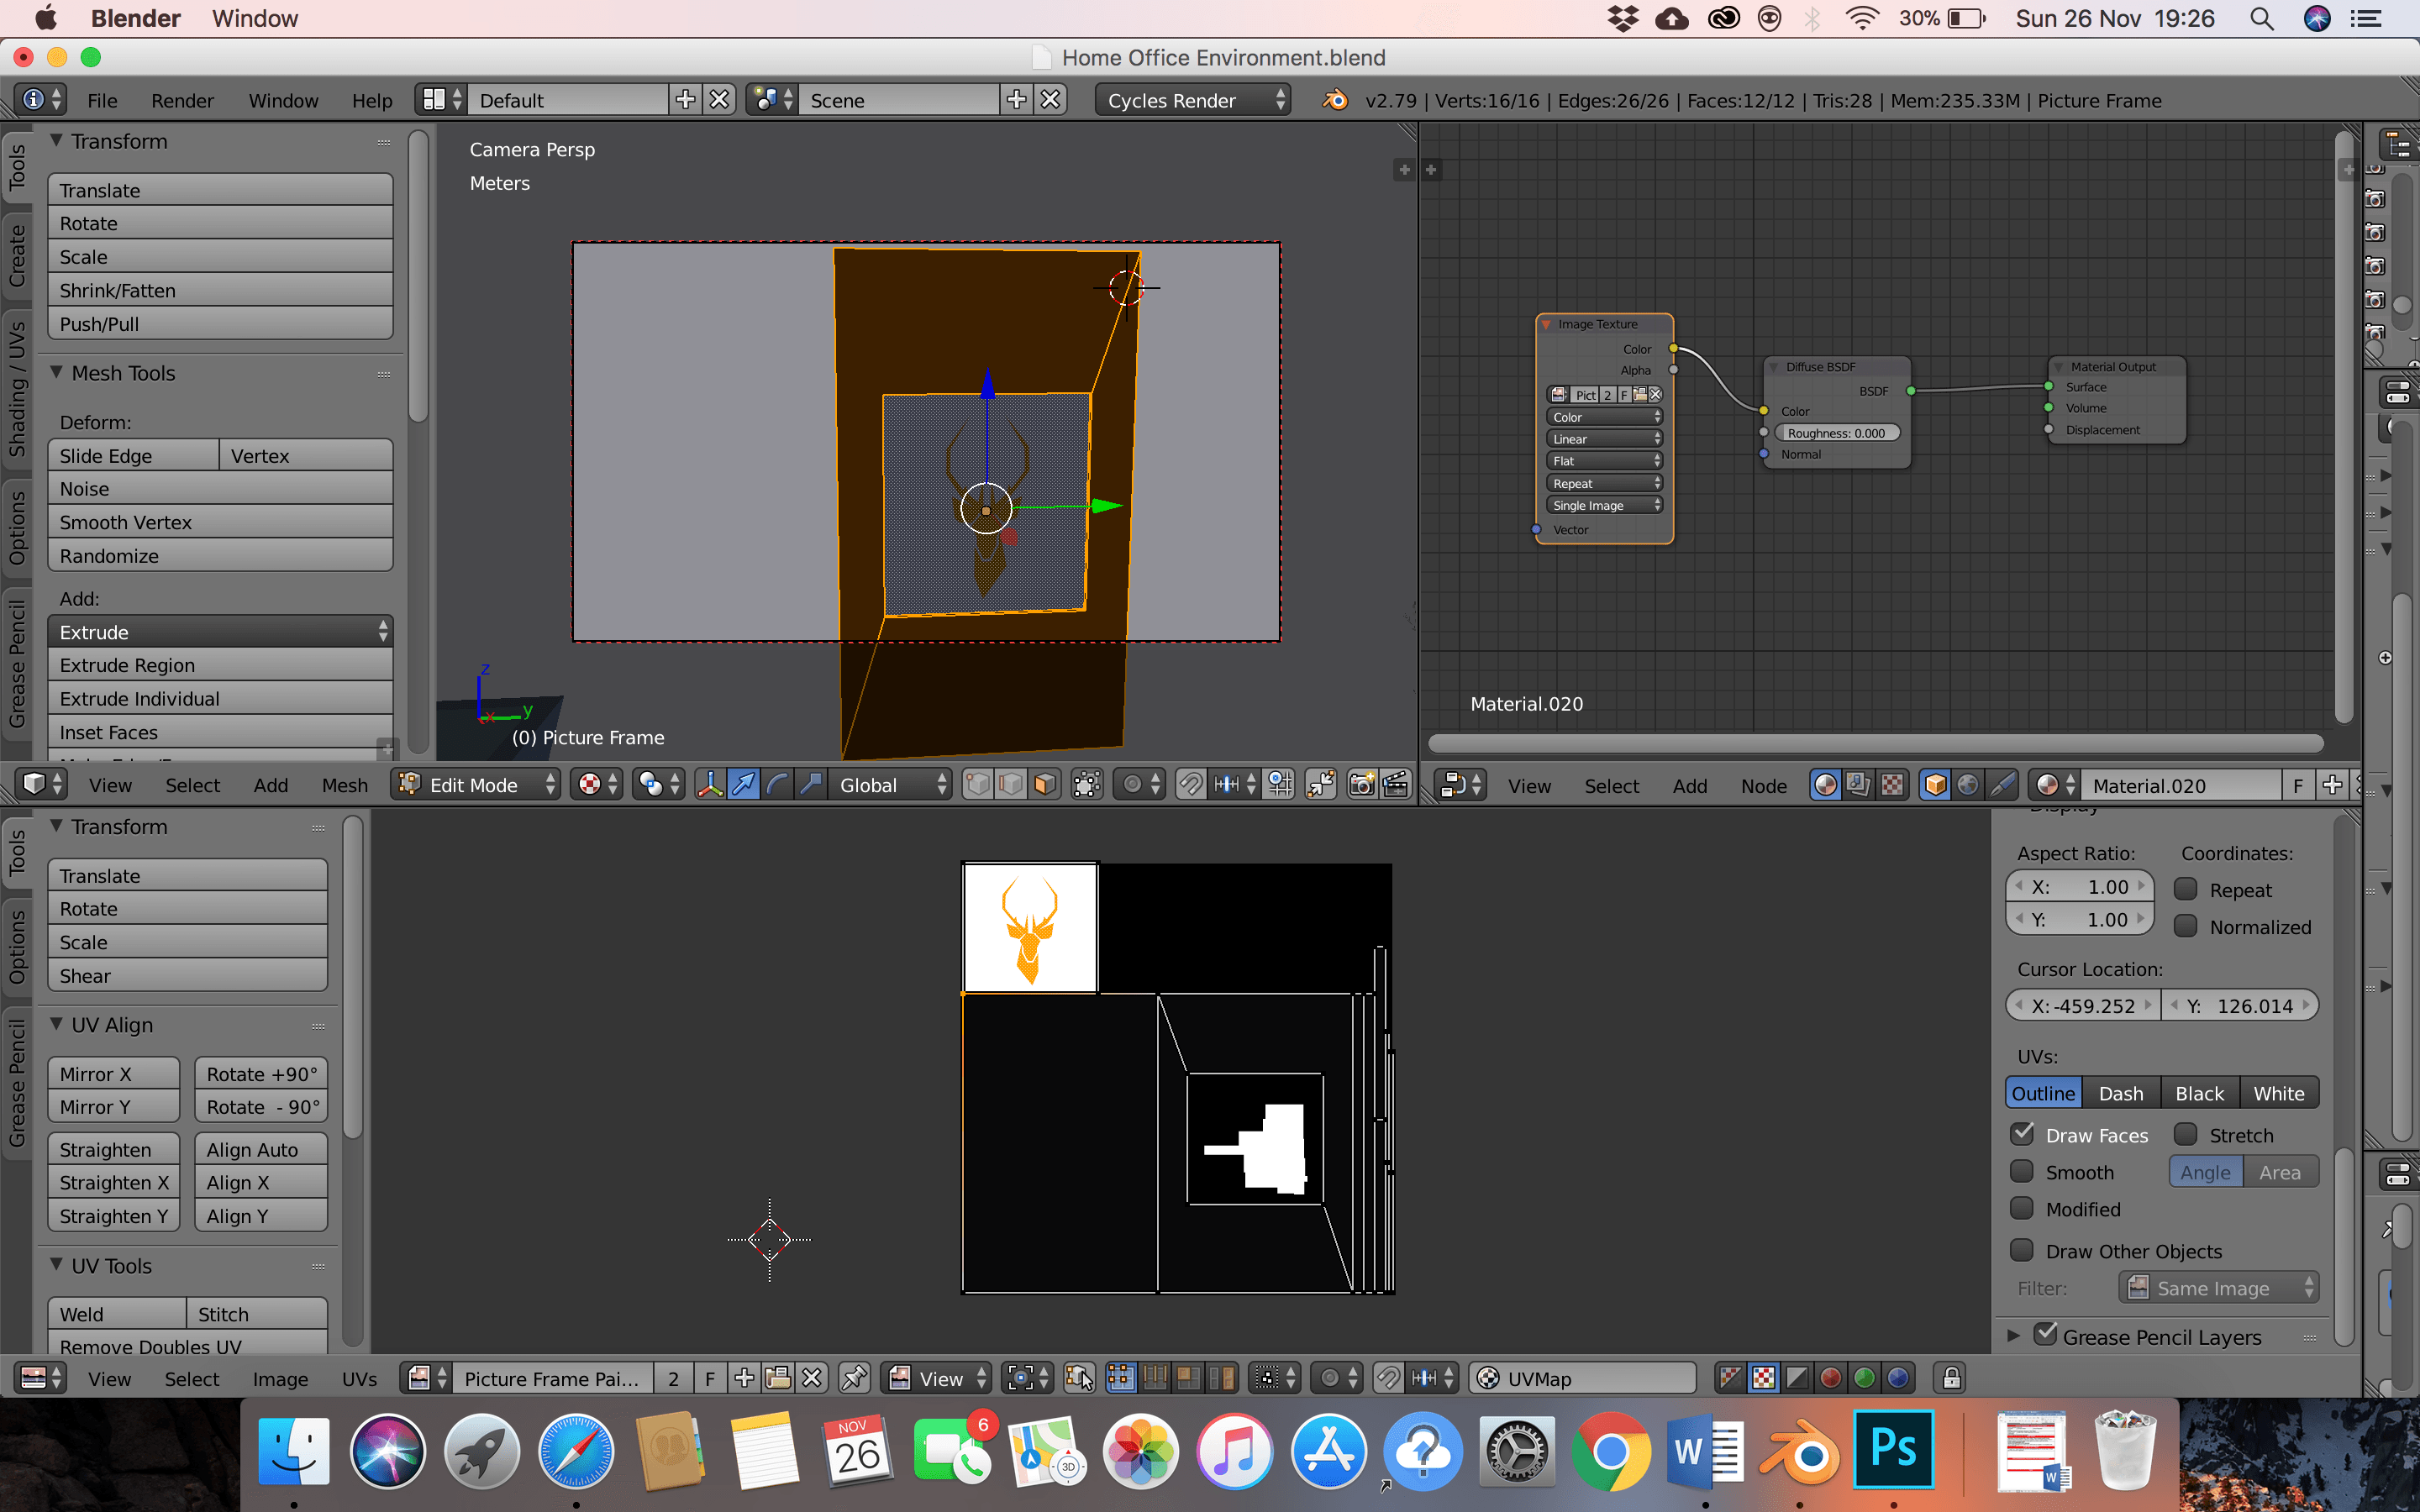
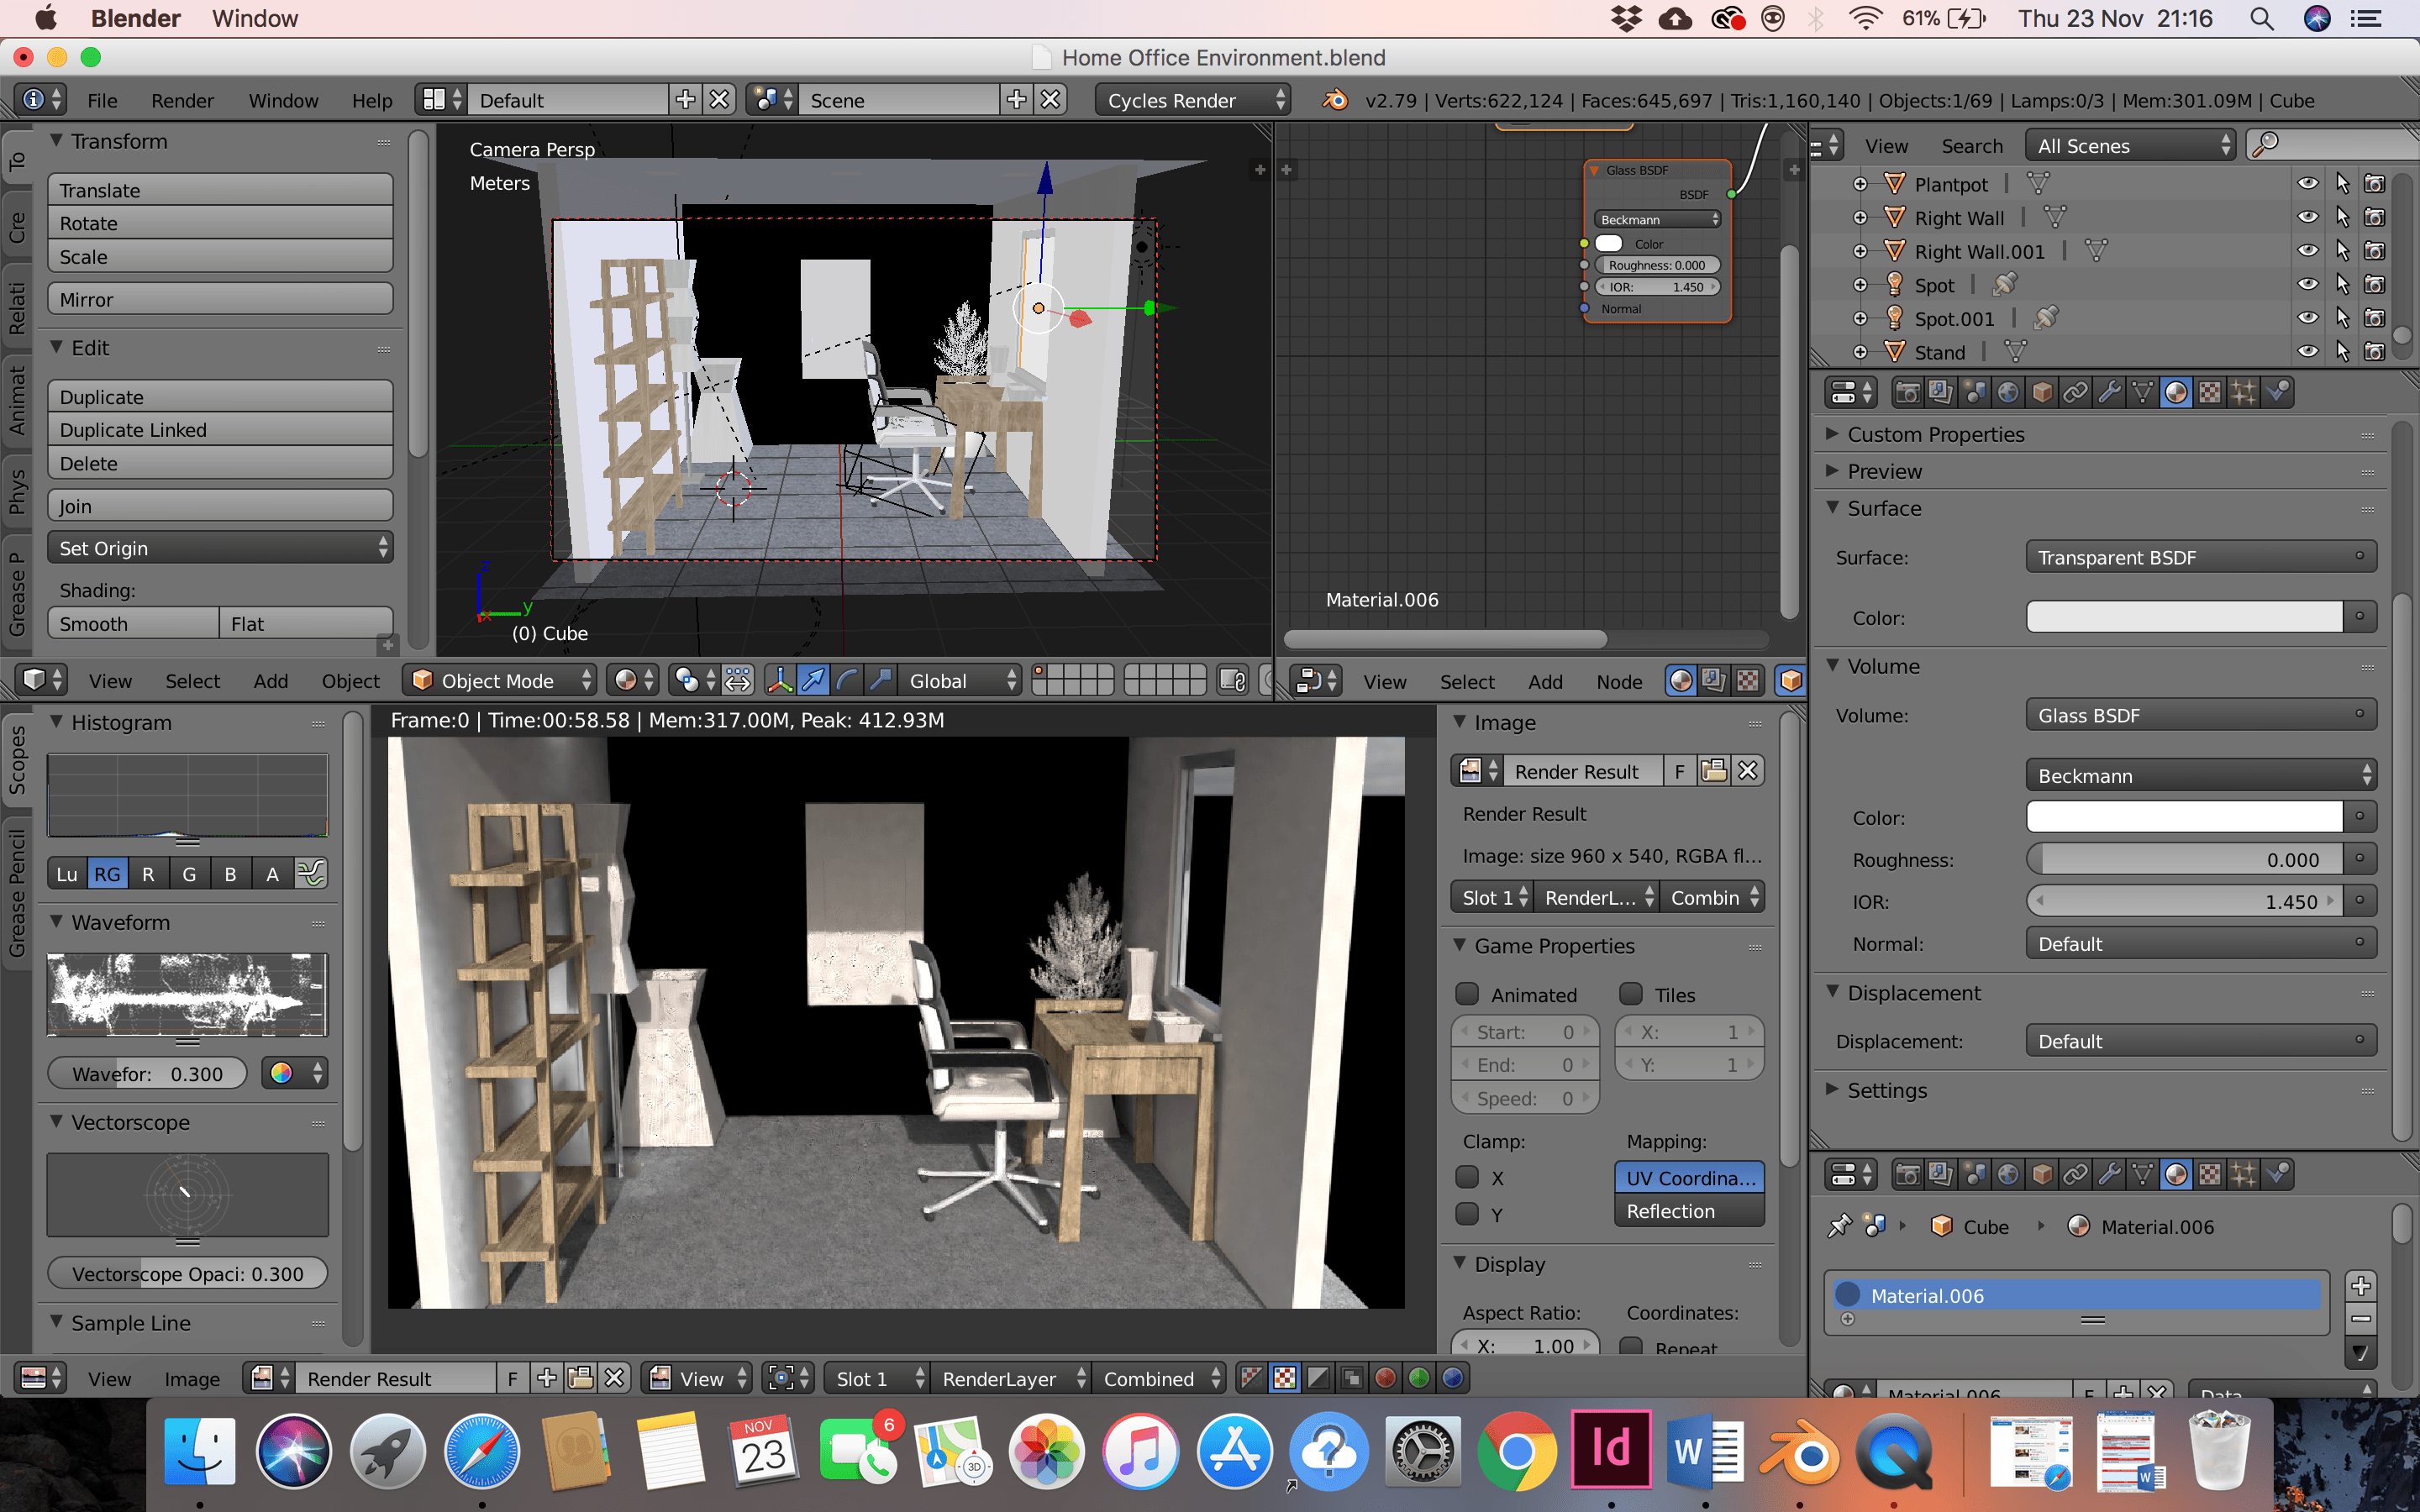
From the import back into blender, I realised that from simply painting the picture frame, the outcome in the promotional video and advertisement won’t stand as a professional and aesthetically pleasing as other products. Therefore, I decided that I wanted a wooden frame, which could be boxed wrapped, and then a texture imported form illustrator (as I prefer this to photoshop when it comes to small illustrations). This meant that I had to completely re-model the picture frame so that the two elements were separate, and the re-imported the picture frame into ‘the scene’ to be wrapped.
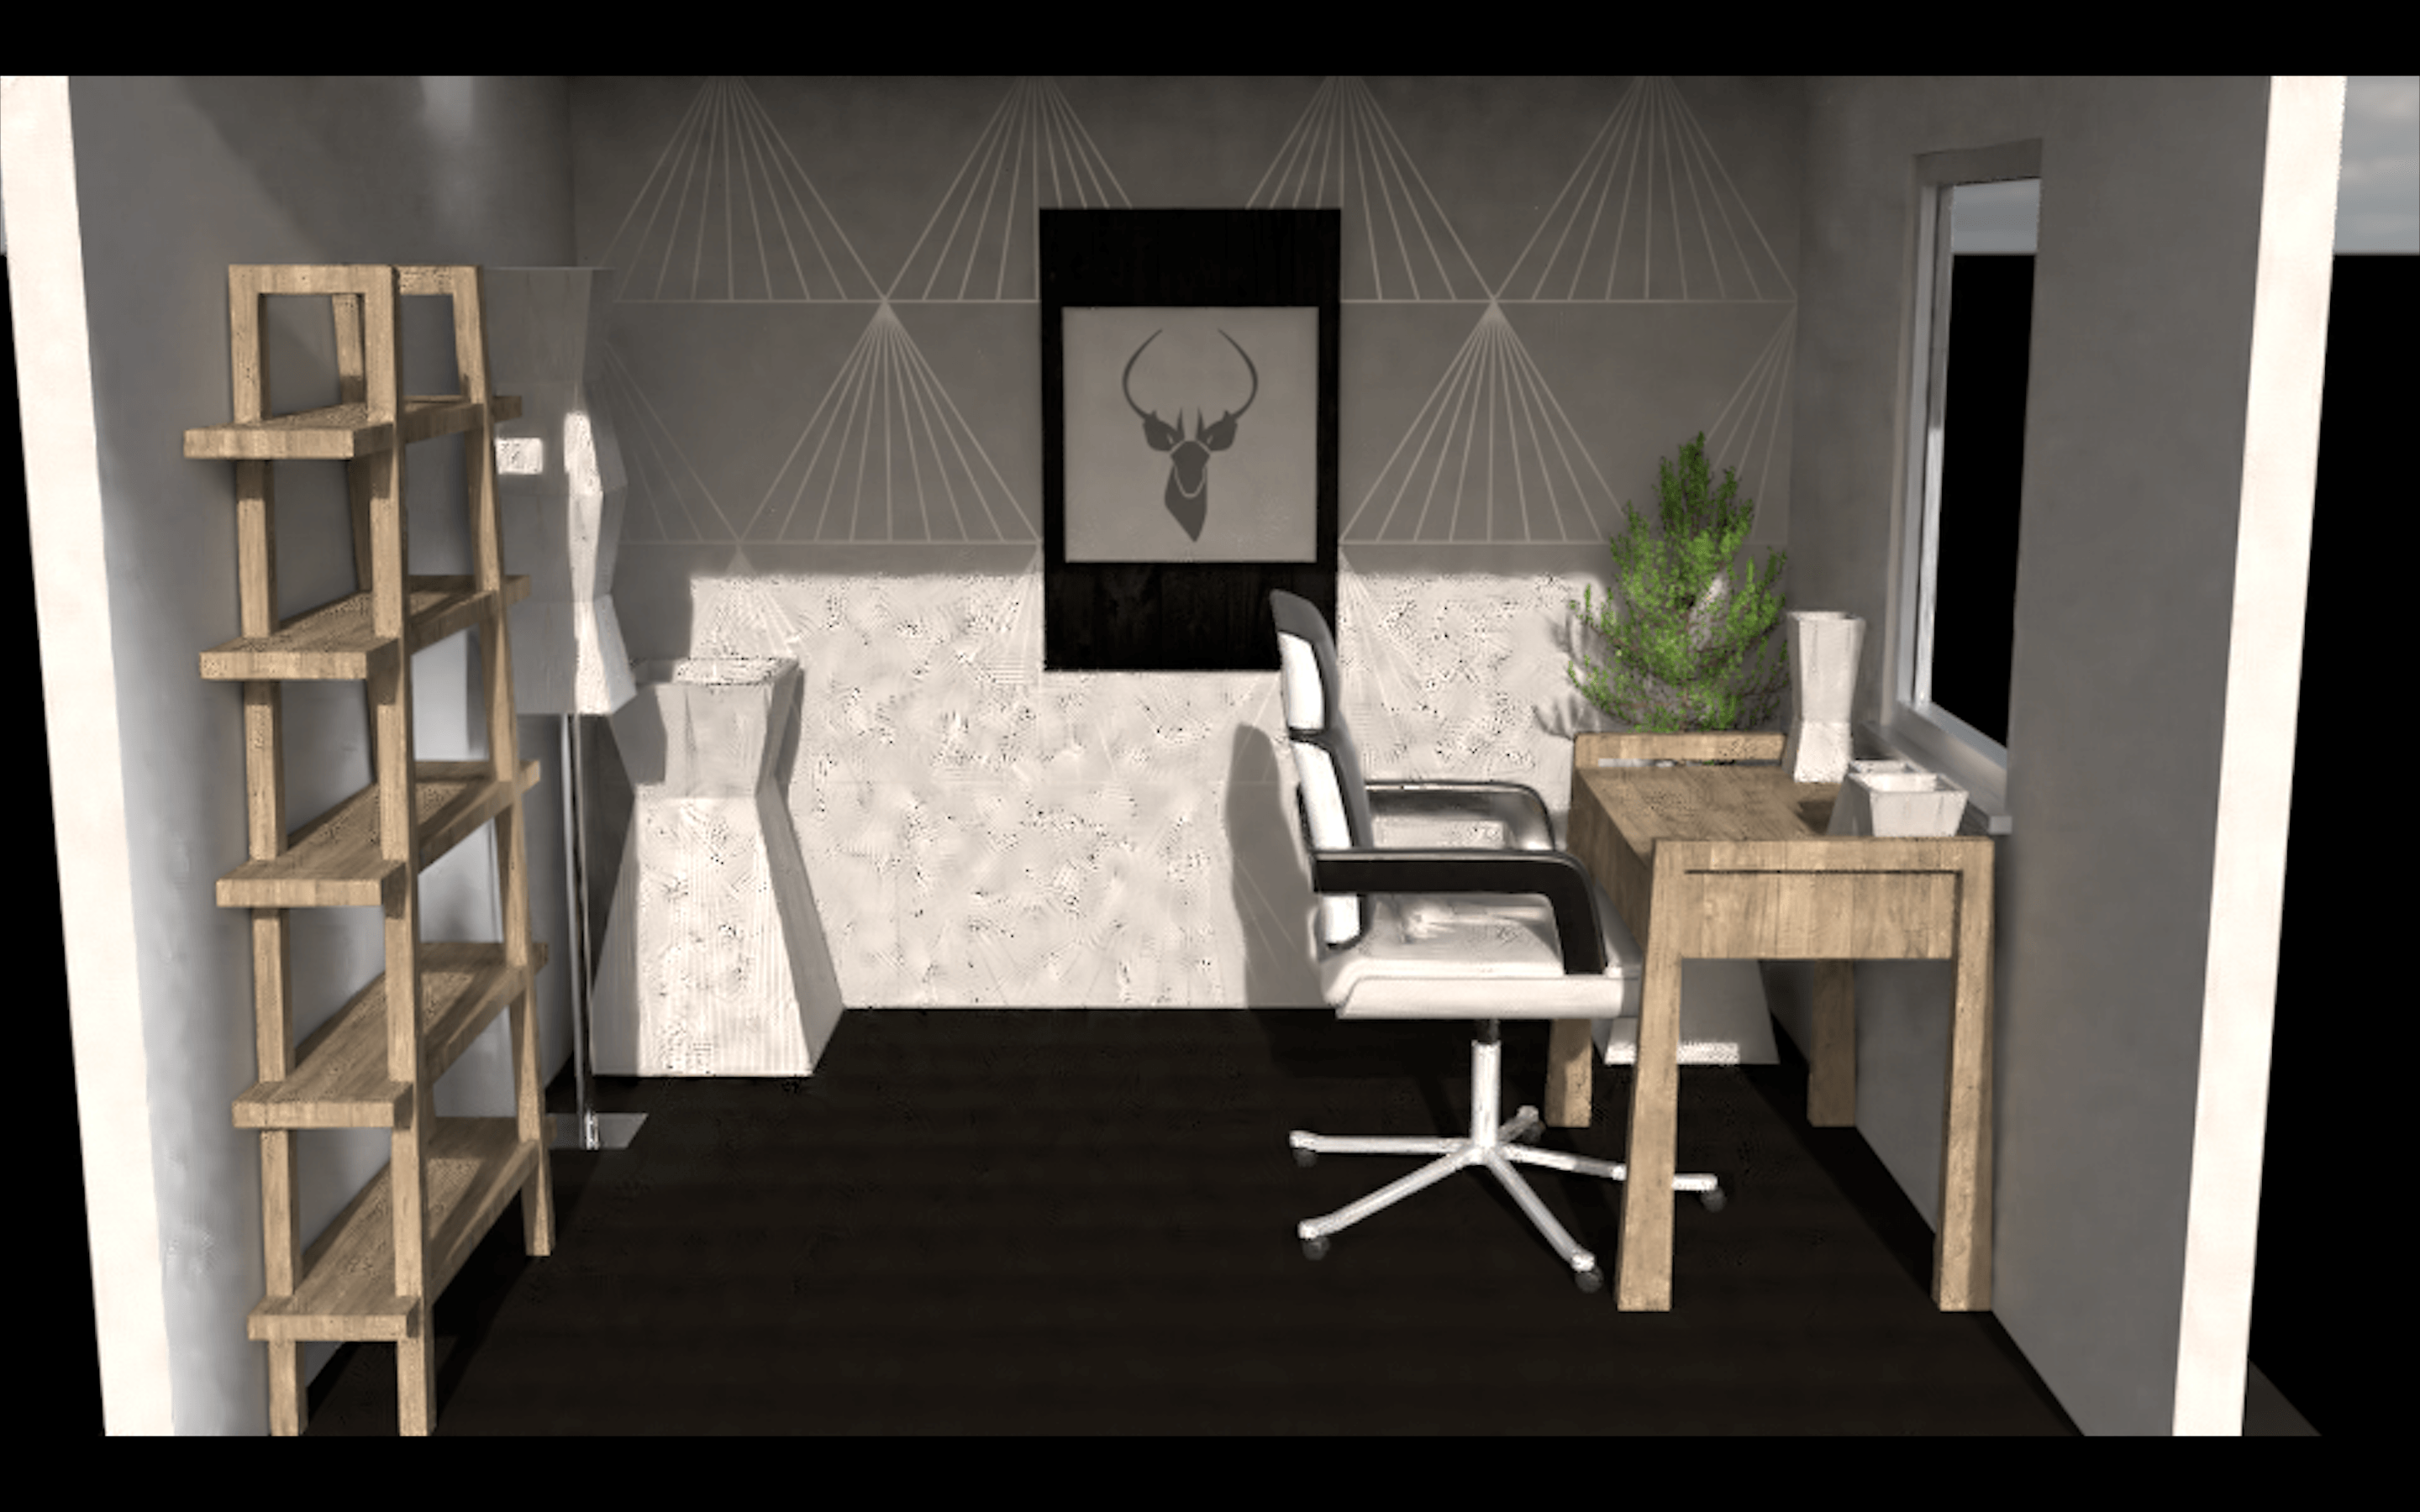
Below is a rendered image of ‘the scene’, with all textures applied: